Unleash the Power of Node.js and Fastify: Build a Rest API and Connect it to Open AI Chat GPT
Unlock the potential of Node.js and Fastify as we delve into building a high-performance REST API. But that's not all – we're taking it a step further by seamlessly integrating OpenAI's Chat GPT.

In the ever-evolving landscape of web development, Node.js and Fastify stand as formidable pillars of efficiency and performance. Node.js, known for its speed and versatility, and Fastify, recognized for its lightning-fast web framework, together form a dynamic duo for building robust REST APIs. But what if we told you that there's a way to take your API to the next level, infusing it with the capabilities of OpenAI's Chat GPT?
In this comprehensive guide, we embark on a journey through the realms of Node.js, Fastify, and OpenAI's Chat GPT, unlocking their full potential to create an API experience like no other.
Node.js: Fueling the Backend Revolution
Node.js has been a game-changer in backend development, enabling developers to use JavaScript on the server-side. Its non-blocking, event-driven architecture makes it a natural choice for building highly scalable applications. We'll dive deep into how Node.js empowers our project with speed, efficiency, and an extensive library ecosystem.
Fastify: The Swift and Secure Web Framework
Fastify, a web framework for Node.js, is designed for blazing-fast performance. It excels in handling high loads while maintaining a minimalistic and developer-friendly API. We'll explore how Fastify's features and plugins streamline the creation of our RESTful API, ensuring it's both performant and secure.
OpenAI Chat GPT: The AI Language Model Revolution
OpenAI's Chat GPT represents a breakthrough in natural language understanding. With its ability to generate human-like text, it opens up exciting possibilities for conversational interfaces and content generation. We'll integrate Chat GPT seamlessly into our API, creating a dynamic and responsive user experience.
Creating the project
To start the project, we need to create a new Node.js project and install Fastify to our project dependencies, create a new folder, and:
npm init -y
#or
yarn init -y
Now install the Fastify dependency:
npm install fastify
#or
yarn add fastify
Add dotenv too:
npm install dotenv
#or
yarn add dotenv
Open the project in your code editor:

It's time to create the folder structure and some files to get our project running, I like this structure:
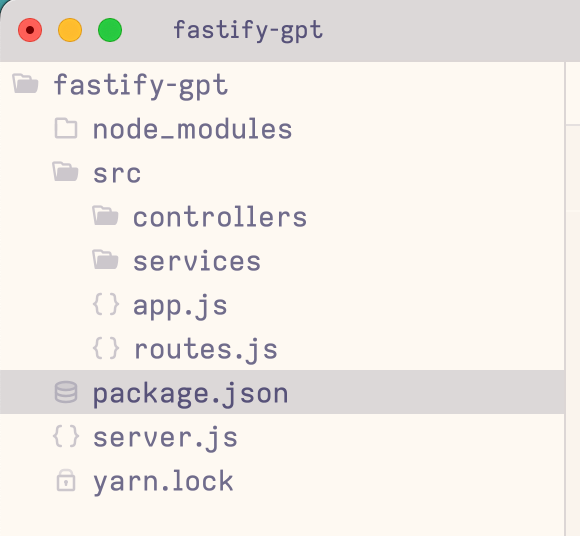
In your package.json create an entry for "type": "module", this will allow the project to use import/export syntax. In main entry, change to server.js.
Let's create our server module, open app.js and write a code that imports the routes file and setup the Fastify:
import Fastify from 'fastify';
import Routes from './routes.js';

const fastify = Fastify({
  logger: true,
});

Routes({ fastify });

export default fastify;
In the Fastify options we will enable only the logger.
In the routes.js temporarily we can register a new route and redirect to the controller:
import * as GPTController from './controllers/GPTController.js';

const gptRoutes = (fastify, _, done) => {
  fastify.get('/', GPTController.search);
  done();
}

export default async function Routes({ fastify }) {
  fastify.register(gptRoutes, { prefix: 'v1/gpt' });
}
This code imports the GPTController (we will create it) and use the search method on fastify.get, this line means that when the user hits the .../gpt using the GET HTTP verb we will call the search function inside the controller.
We got the Routes function too, this function just registers the routes on Fastify and permits the creation of route prefixes (and other settings), this is very useful for grouping the resources by context or creating versions for each route group.
Open the server.js file and let's see the code:
import 'dotenv/config'
import fastify from './src/app.js';

try {
  const port = parseInt(process.env.PORT, 10) || 7777;
  await fastify.listen({ port });
} catch (err) {
  throw err
}
Here we just import dotenv and execute the config setup, import the app.js file, and start the Fastify server with listen a function passing the port as a parameter. We get the port number from the Env.
Create the controller file inside controllers folder with name GPTController.js and put a small "Hello World":
export const search = (request) => {
  return {message: "Hello World"}
}
Just a small function that returns an object with message key and as a value; "Hello World".
Fastify automatically serializes the return value of the controller to a JSON and we can speed up this process (yes, serializing is slow) using the response key on the schema option for each route, check it here. It is not necessary but is good to know.
Time to run the server and see all the changes that we made:
node server.js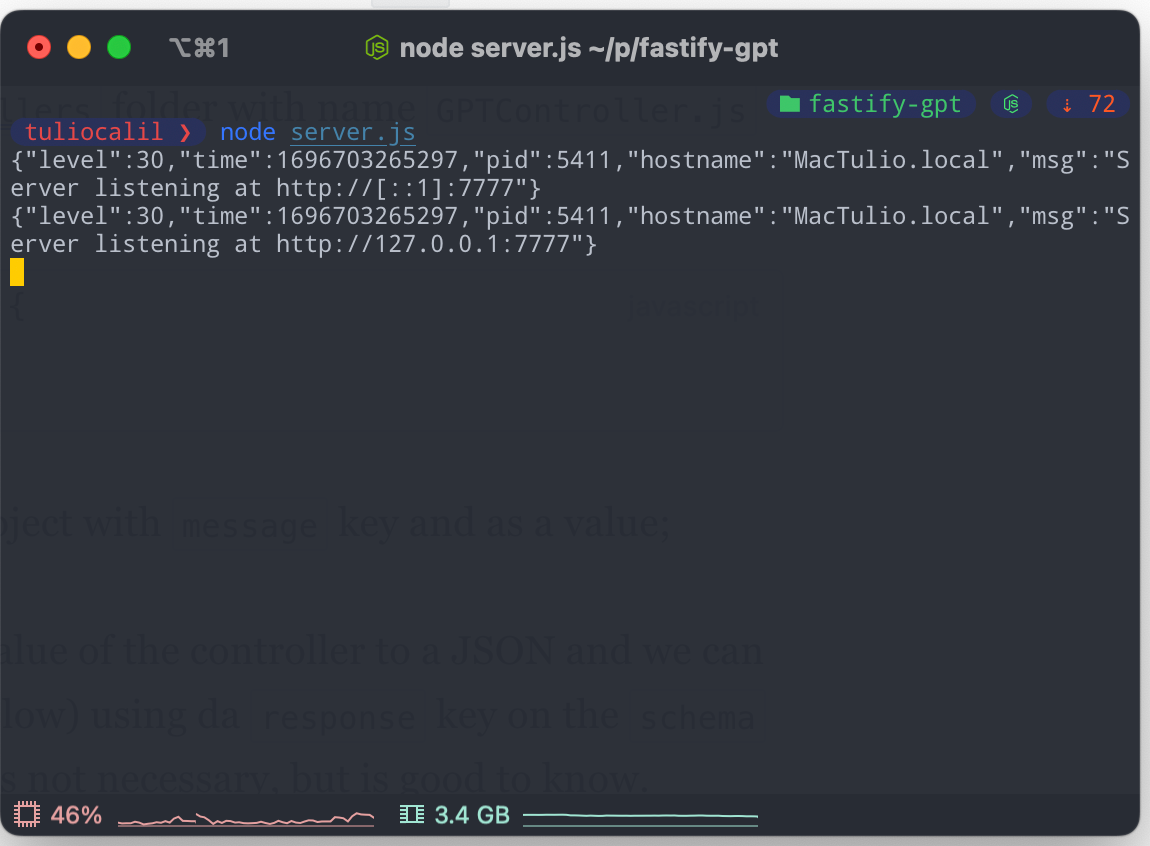
Some logs will be printed on the terminal, this is because we enable the logger, and every request will output some logs too.
Open the server on an HTTP client (I use HTTPie) with the new route and we can see the "Hello World" message:
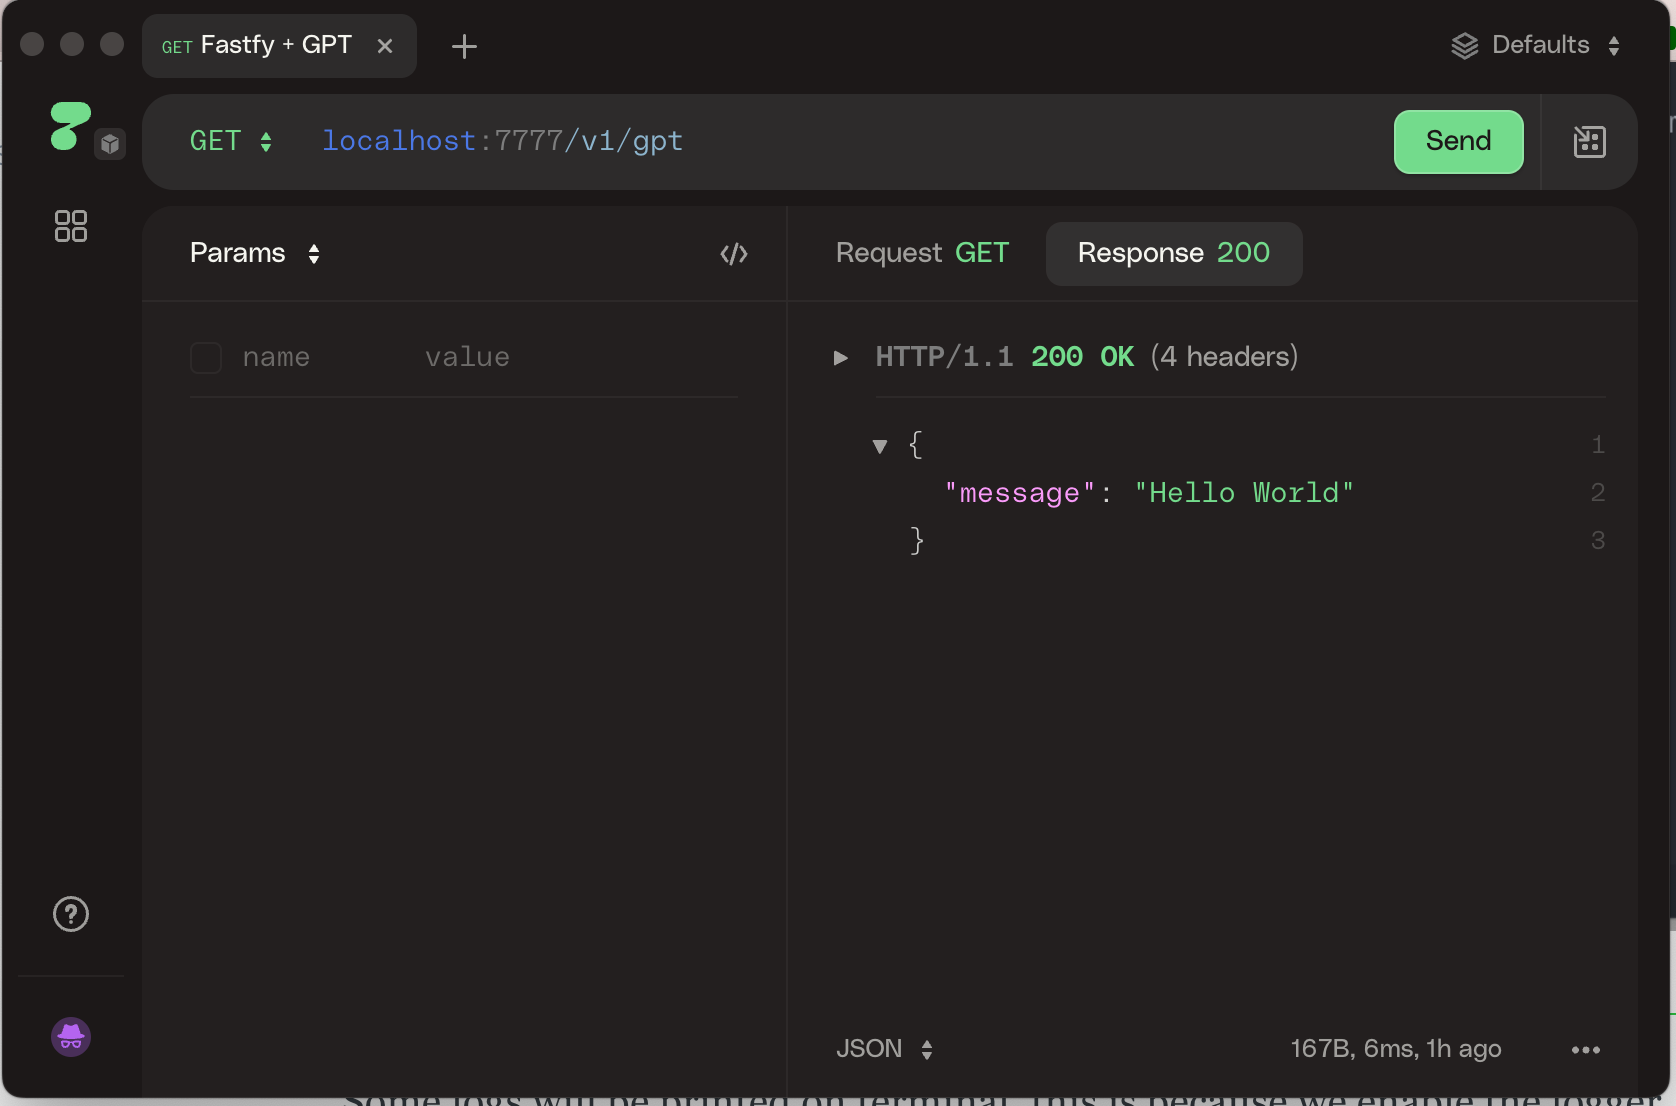
Okay, the main application is done! Go to check the OpenAI GPT part.
Chat GPT on Node.js
From a technical standpoint, the Chat GPT API offers a seamless integration process, making it accessible and adaptable for a wide range of development projects. Developers can interact with the API via HTTP requests, allowing for straightforward communication with the model. Input is provided as a list of messages, each having a role ('system,' 'user,' or 'assistant') and content. This structure enables the creation of structured and dynamic conversations, with the model able to remember and respond contextually to previous messages. The API supports customization through 'system' level instructions, enabling developers to steer the model's behavior to align with specific use cases. With OpenAI's commitment to continuous improvement, the Chat GPT API promises not only an impressive initial experience but also the potential for further refinement as the model evolves, ensuring that it remains at the forefront of cutting-edge AI technology.
To connect to Node.js applications we can use the openai NPM package, this will give us a shortcut in development and simplify the application.
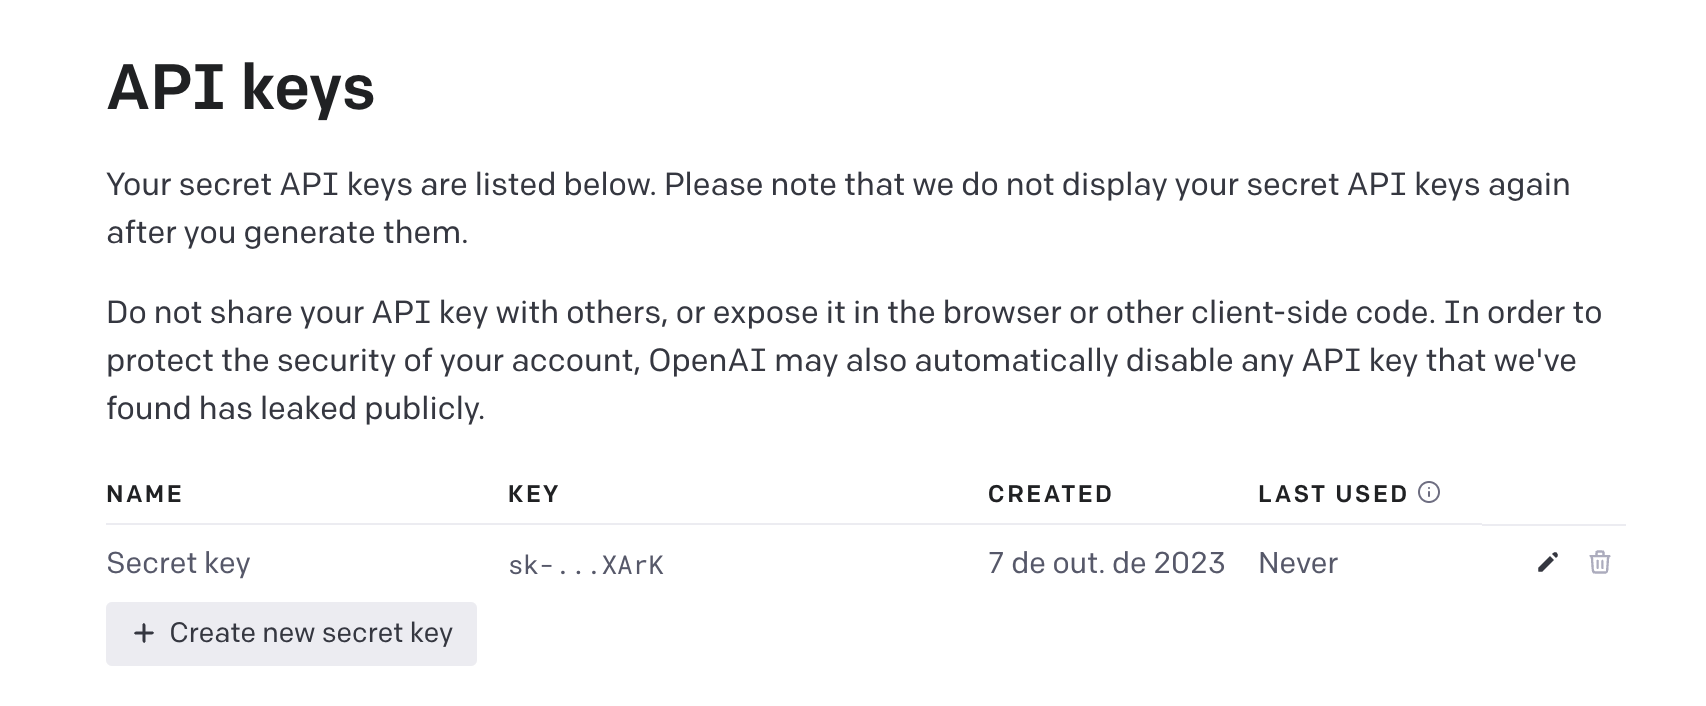
To start we need first to get an API Key, which you can get on the API key page.
On the project add the new dependence:
npm install openai
#or
yarn add openai
Create a .env file and insert your API key:
OPENAI_API_KEY=sk-123abcIn the services folder create the openAIGPT.js file and put this content:
import OpenAI from 'openai';

export const searchGPT = async (question) => {
  const openai = new OpenAI();

  const chatCompletion = await openai.chat.completions.create({
    messages: [{ role: 'user', content: question }],
    model: 'gpt-3.5-turbo',
  });

  return chatCompletion.choices[0].message.content;
}
Here we create a searchGPT function and inside we start the OpenAI object, we don't need to pass any config for this sample cause the package automatically search for the env variable with OPENAI_API_KEY.
In the next line, we use the chat.completions to start new completions, the Chat Completions API is an interface that allows developers to integrate GPT-3's language generation capabilities into their applications, particularly for generating human-like text in a conversational format.
On create we set the message object (you can pass multiple messages) that comes from the user's request and the role, "rules" refer to specific instructions or guidelines you can provide to the GPT-3 model as part of the API request to control its behavior and output.
Finally, we return the response content.
Go back to the GPTController.js and change to this:
import {searchGPT} from "../services/openAIGPT.js"

export const search = async (request) => {
  const { question } = request.query;

  if(!question){
    return { message: "invalid" }
  }

  const message = await searchGPT(question);
  return { message }
}
We get the question from the request query and check if it exists, if not we return an "invalid" message (I strongly recommend using the Fastify validators). If exists we call the searchGPT service and create the completion.
Running the server and testing again we got:
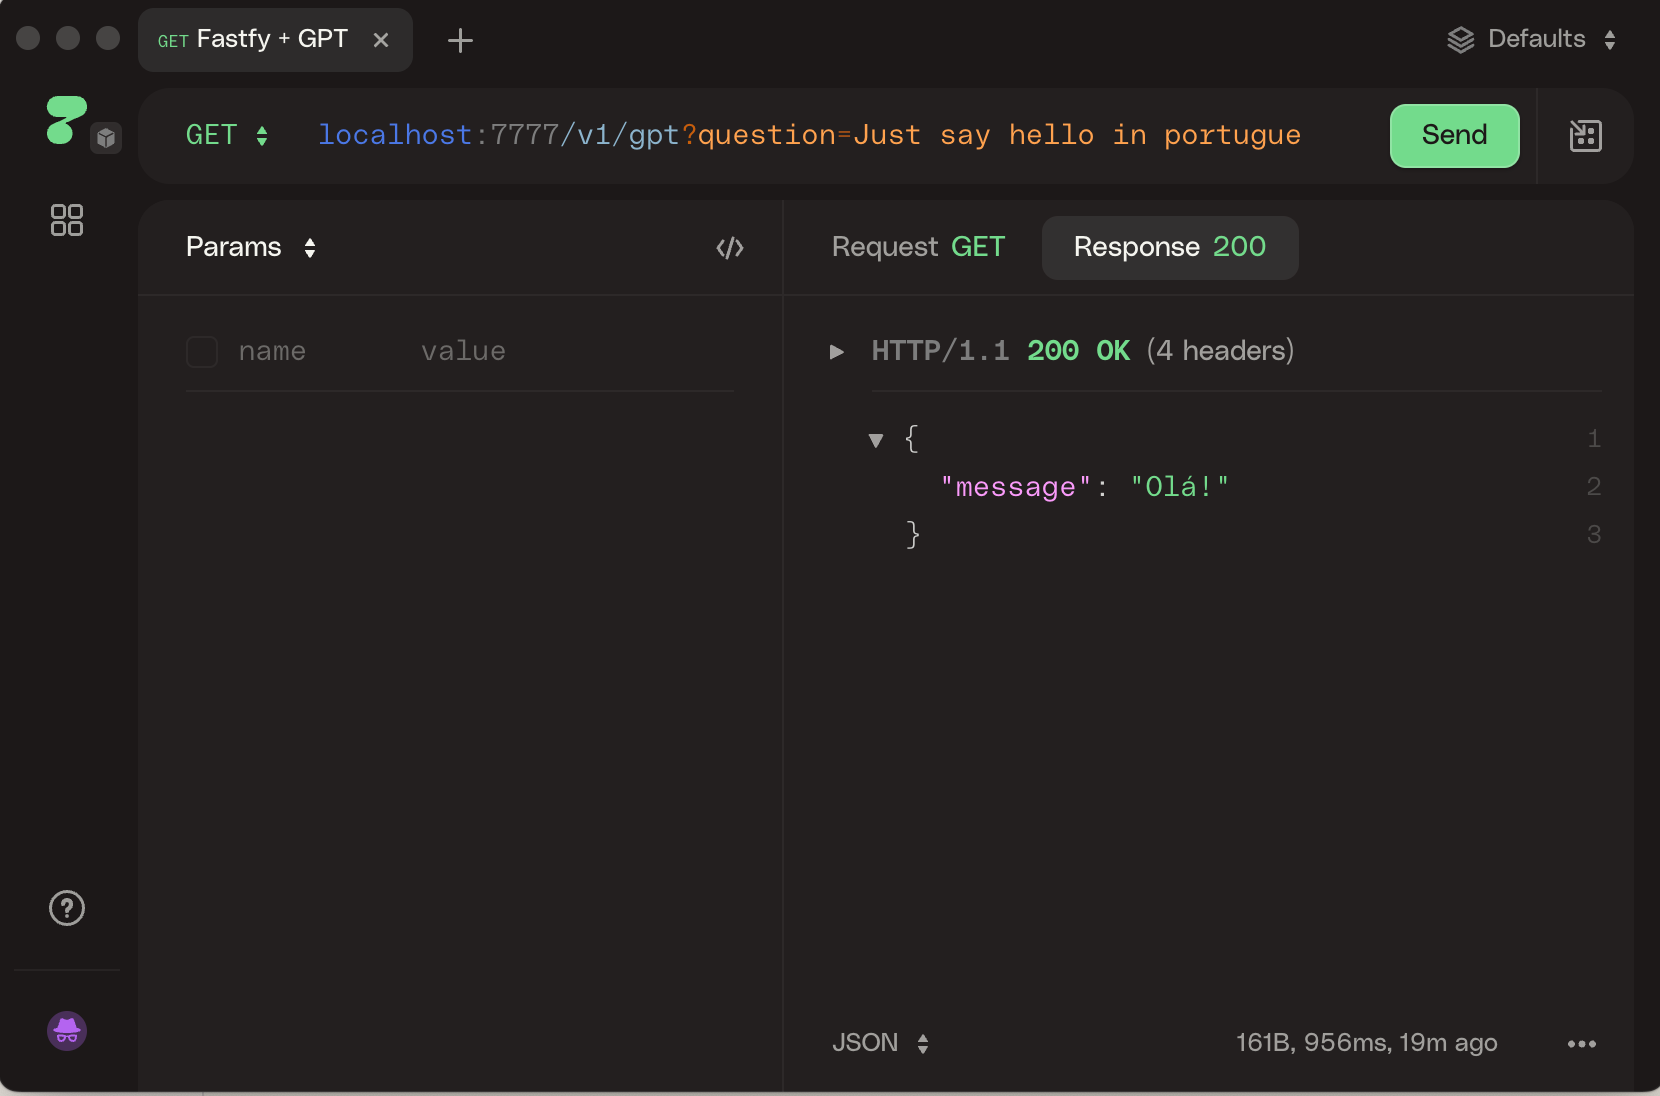
I put a query question in the URL and got the GPT response in my body.
You can mix this knowledge with other things that we already see here in the blog, for example, we can connect your API to an Electron desktop APP with our SQLite database to generate insights from the data. We can use UI Kits to create beautiful interfaces for this integration too.
In this journey to harness the capabilities of Node.js, Fastify, and OpenAI's Chat GPT, you've unlocked the true potential of modern web development. Your REST API, now infused with the magic of AI-powered conversations, stands as a testament to the endless possibilities at your fingertips. As you venture forward, remember that the collaboration of cutting-edge technologies can redefine user experiences, revolutionize industries, and shape the future. Embrace this fusion of innovation, and continue to create, innovate, and unleash the power of technology to transform the world.
If you're interested in exploring the code behind this project, you can find it on GitHub. Feel free to dive in, learn, and continue to build amazing things with these powerful tools.