Optimizing Code Quality in React and React Native with SonarQube Integration
Optimize your React and React Native code quality with SonarQube integration. Explore efficient, scalable, and maintainable coding practices in this insightful guide.


In the dynamic world of software development, ensuring high code quality is crucial, especially for React and React Native frameworks. Code quality pertains to creating efficient, error-free, maintainable, and scalable code. SonarQube, a leading tool for code analysis, plays a pivotal role in achieving this. It automates code reviews, and identifies bugs, vulnerabilities, and code smells, making it an invaluable asset for developers. By integrating SonarQube with React and React Native projects, developers can significantly enhance their code's reliability, adhere to coding standards, and mitigate potential vulnerabilities, thereby maintaining a consistently high standard of code quality throughout the development process.
Requirements
- Docker
- Terminal
- Code Editor
Docker is the easiest and fastest way to run SonarQube in the project so I use it every time I need.
Starting
On your React or React Native project create a docker-compose.yml file and put this:
version: "3.9"

services:
  sonarqube:
    container_name: sonarqube
    image: sonarqube:8.9.10-community
    expose:
      - "9000"
    ports:
      - "9000:9000"
If you are using an arm64 computer(like Macbook M1/M2/M?) change the image to image: mwizner/sonarqube:8.7.1-community.This will create a Docker container named "sonarqube" and expose the port 9000 to our machine.
In your terminal run:
docker-compose up -dWhen it finishes, you can check if the container is running using the following command:
docker ps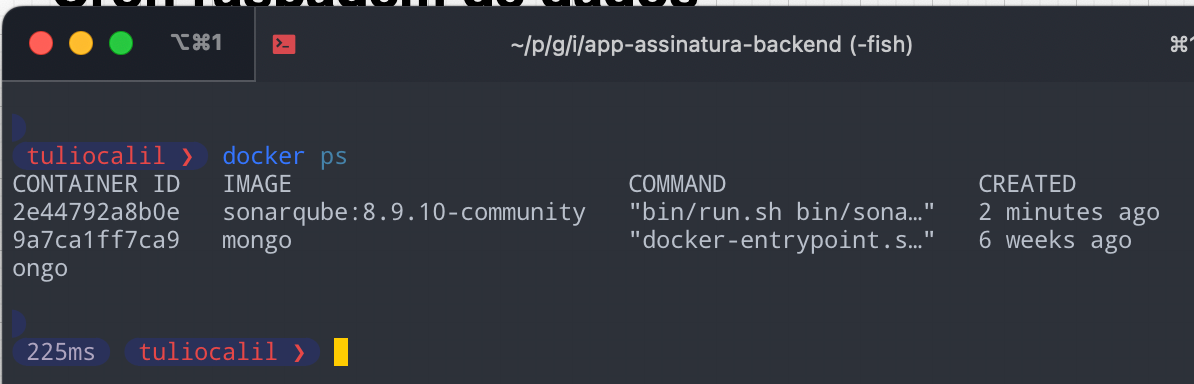
Now you can open the localhost on the port 9000.
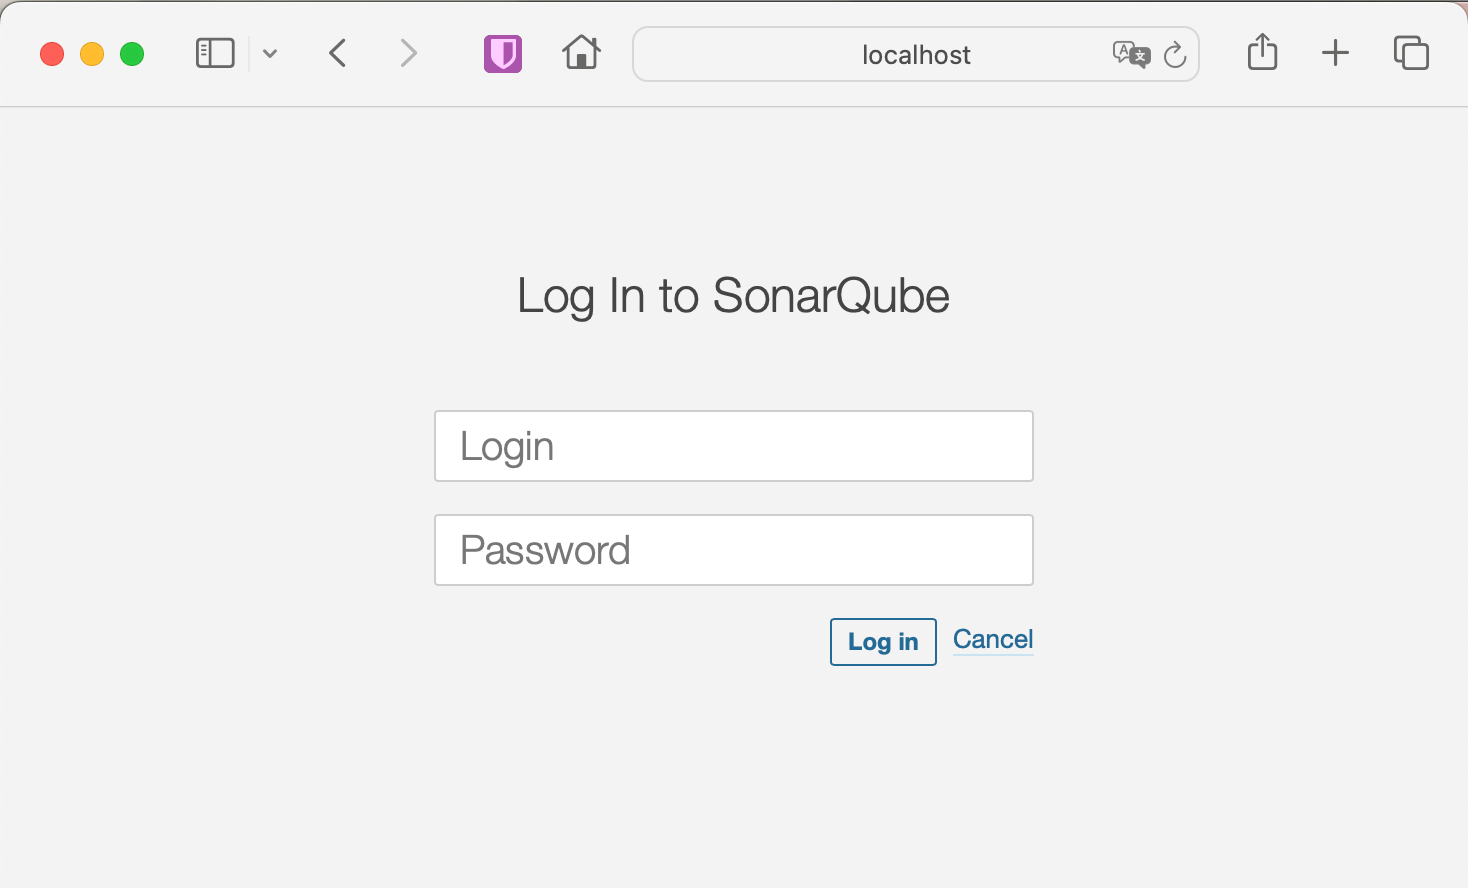
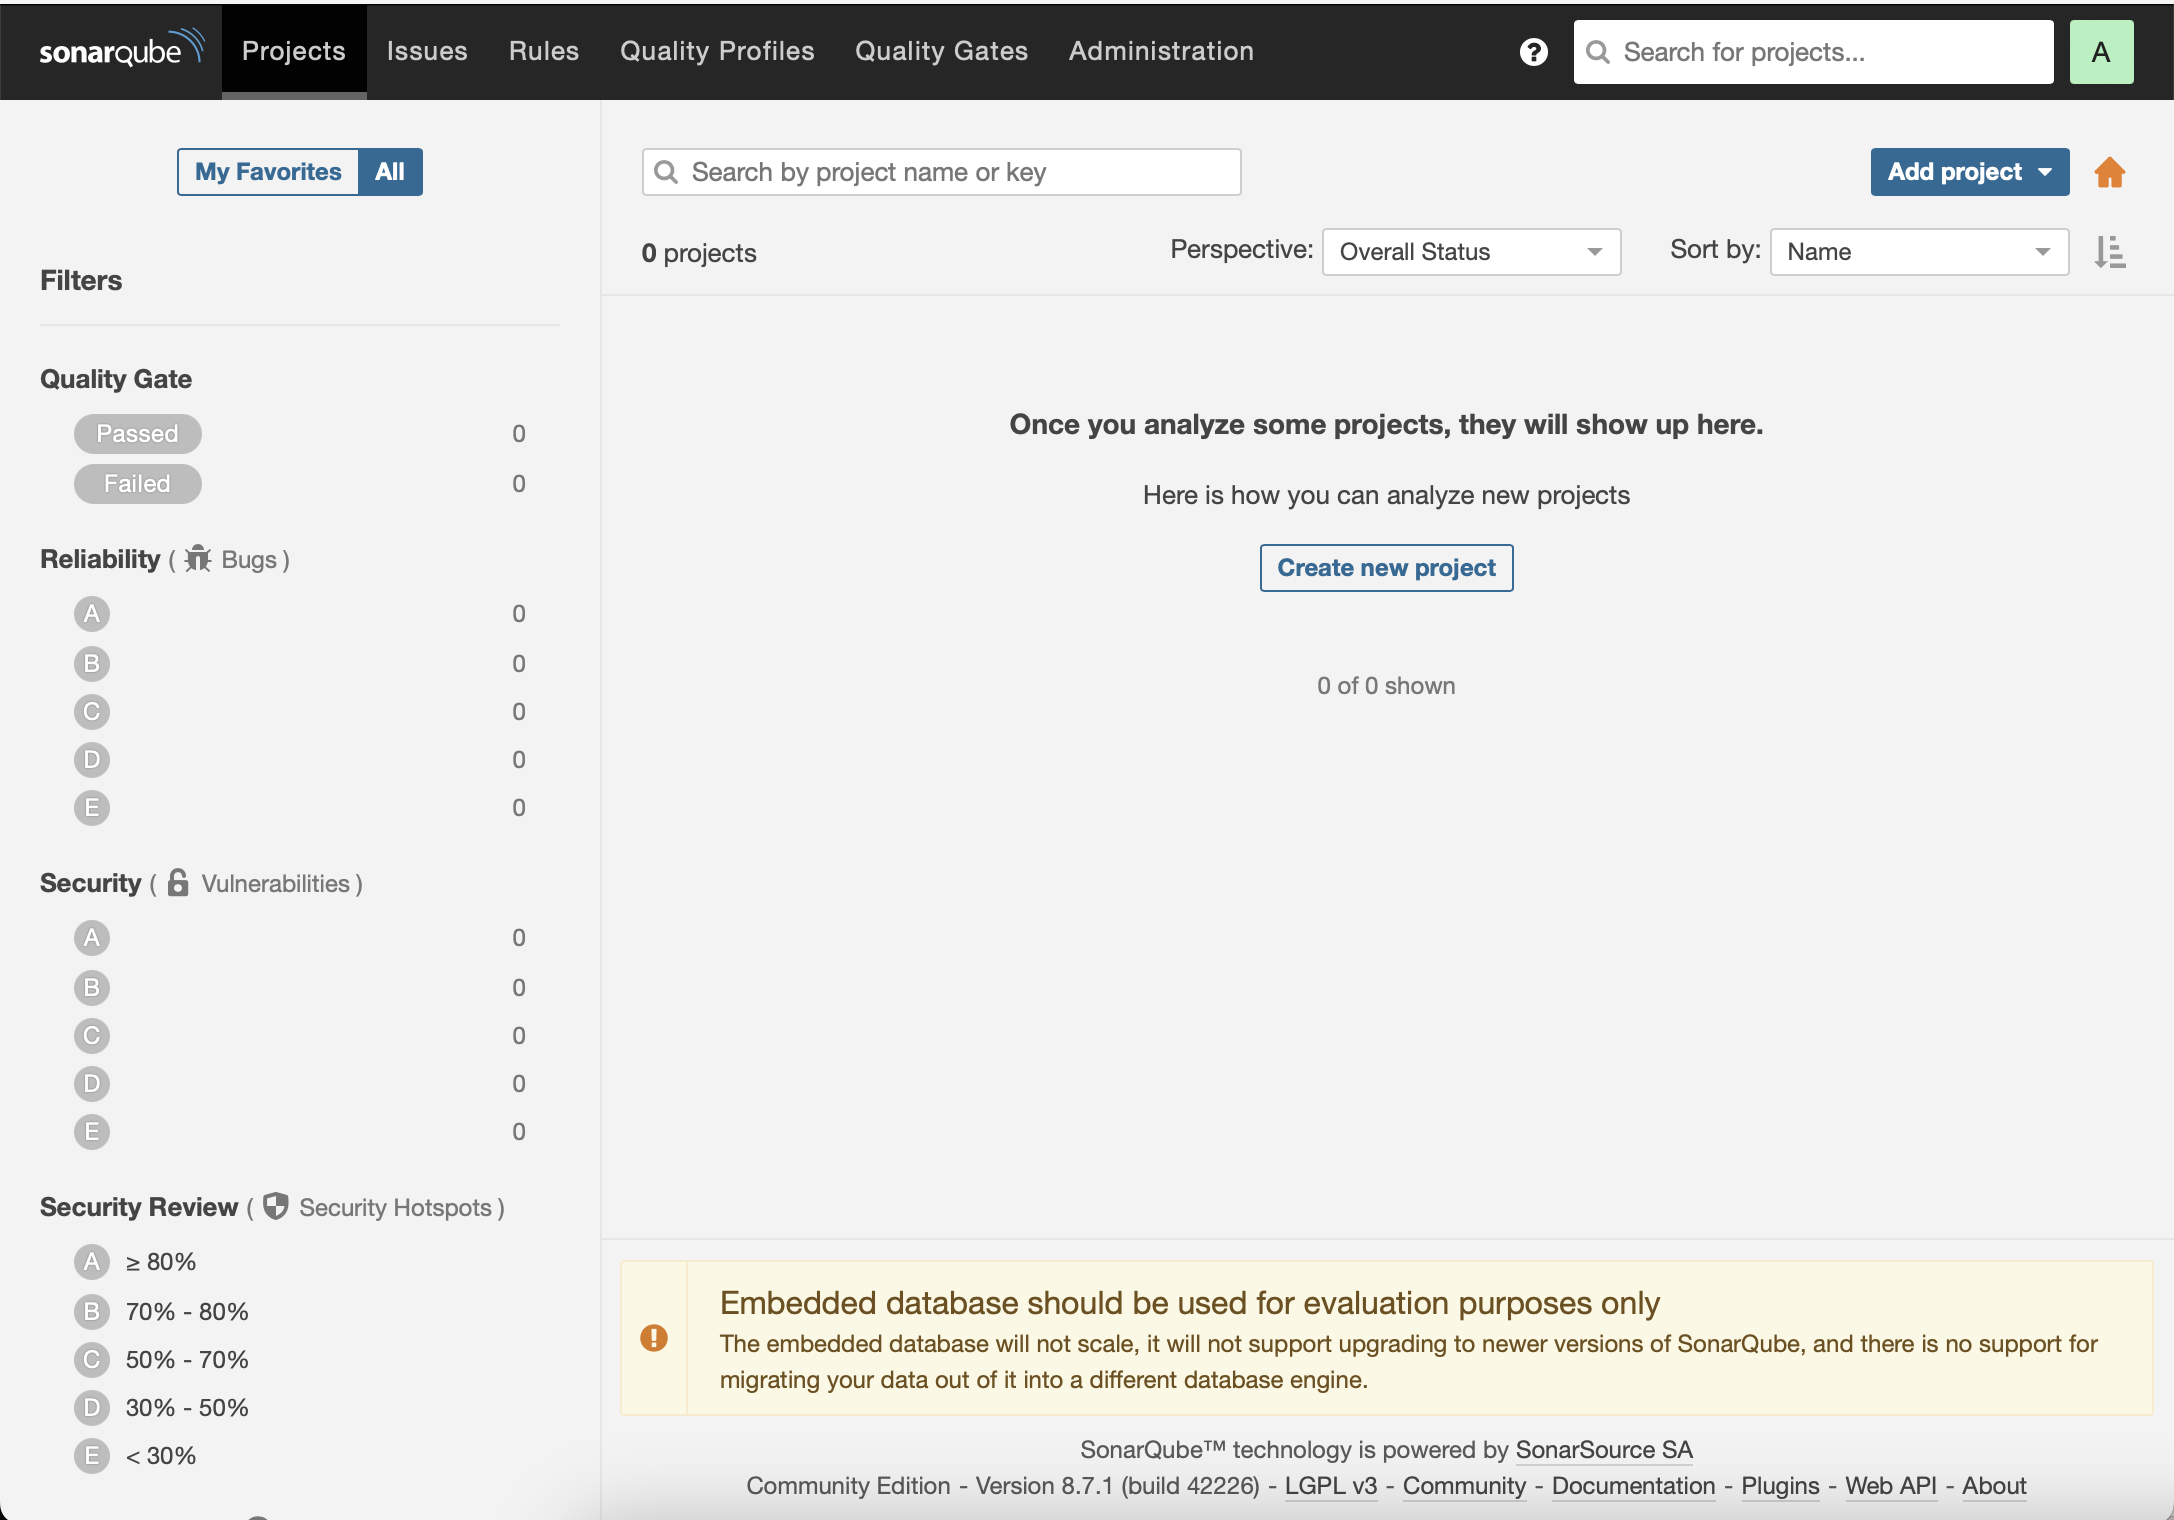
The default user is admin and password admin. You will be asked to create a new (don't forget the new password). When you finish this page will open:
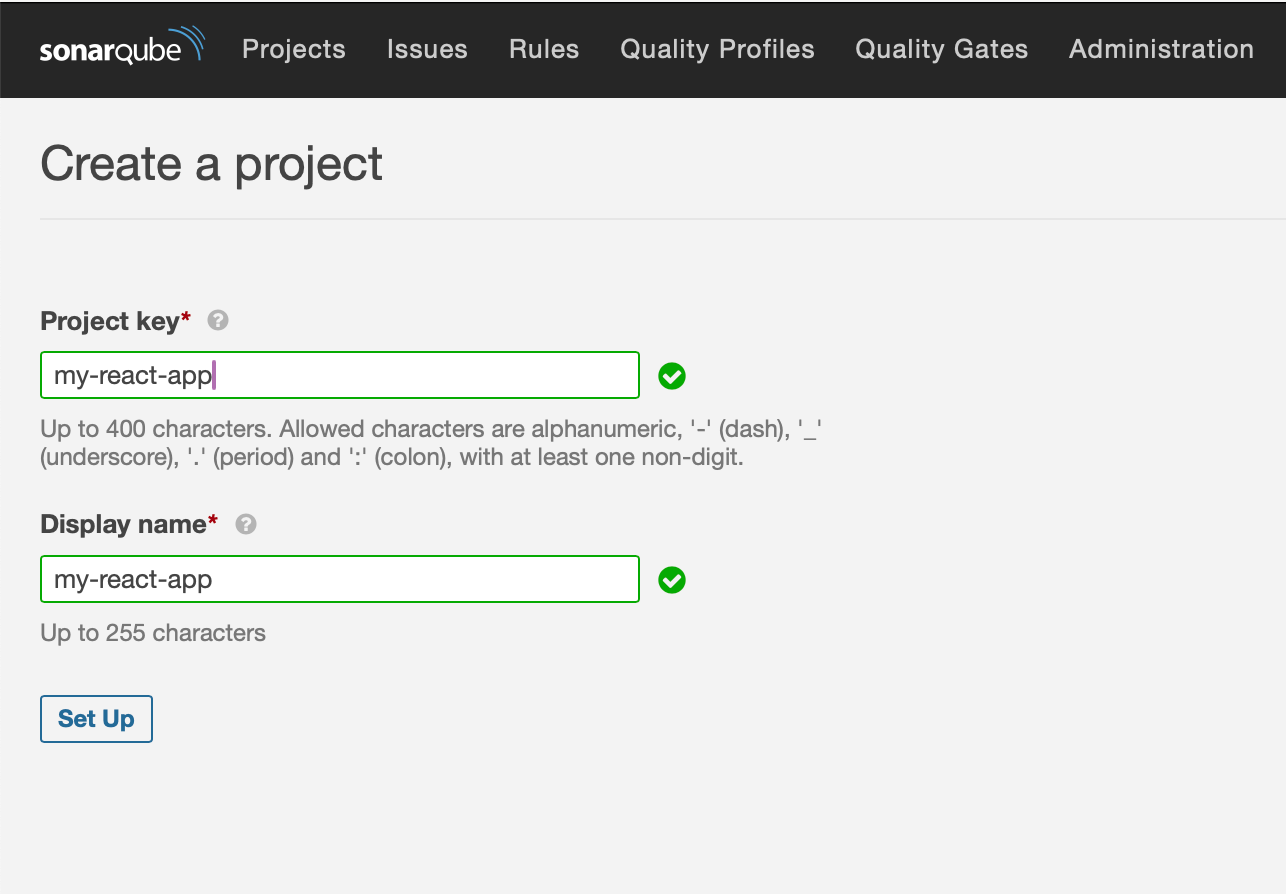
Click on "Create new project" and choose the "Manually" option, now need to define the project key, it's just the project name (or whatever you want):
The next step is to generate a token, put a name for the token, click on "Generate", copy the generated token:

Now we need to add a new dependency in the application:
yarn add sonarqube-scannerAnd create a file called sonarscan.js in the project root with this content:
const scanner = require("sonarqube-scanner");

scanner(
  {
    serverUrl: "http://localhost:9000",
    token: "the generated token",
    options: {
      "sonar.projectName": "project name",
      "sonar.projectKey": "project key",
      "sonar.sources": "src",
      "sonar.ignore":
  "src/**/*.test.js,src/**/*.spec.js,src/**/*.test.jsx,src/**/*.spec.jsx,android/**,ios/**,node_modules/**",
    },
  },
  () => process.exit()
);
Open the package.json and create a new script entry for the Sonar script:
"scripts": {
    ...
    "sonar": "node sonarscan.js"
  },
Run in the terminal the new command:
yarn sonar
#or
npm run sonar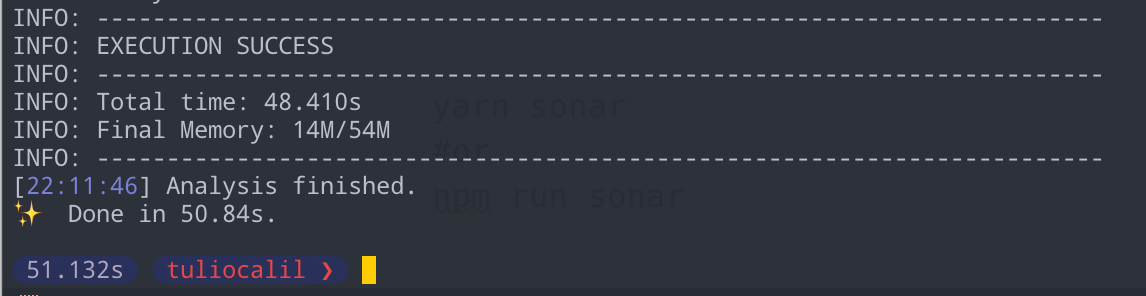
If you see an error messageNot authorized. Analyzing this project requires authentication.Go to Sonar dashboard, open theAdministrationpage,Securityand disable theForce user authenticationoption.
Go back to Sonar page and you will see some like this:
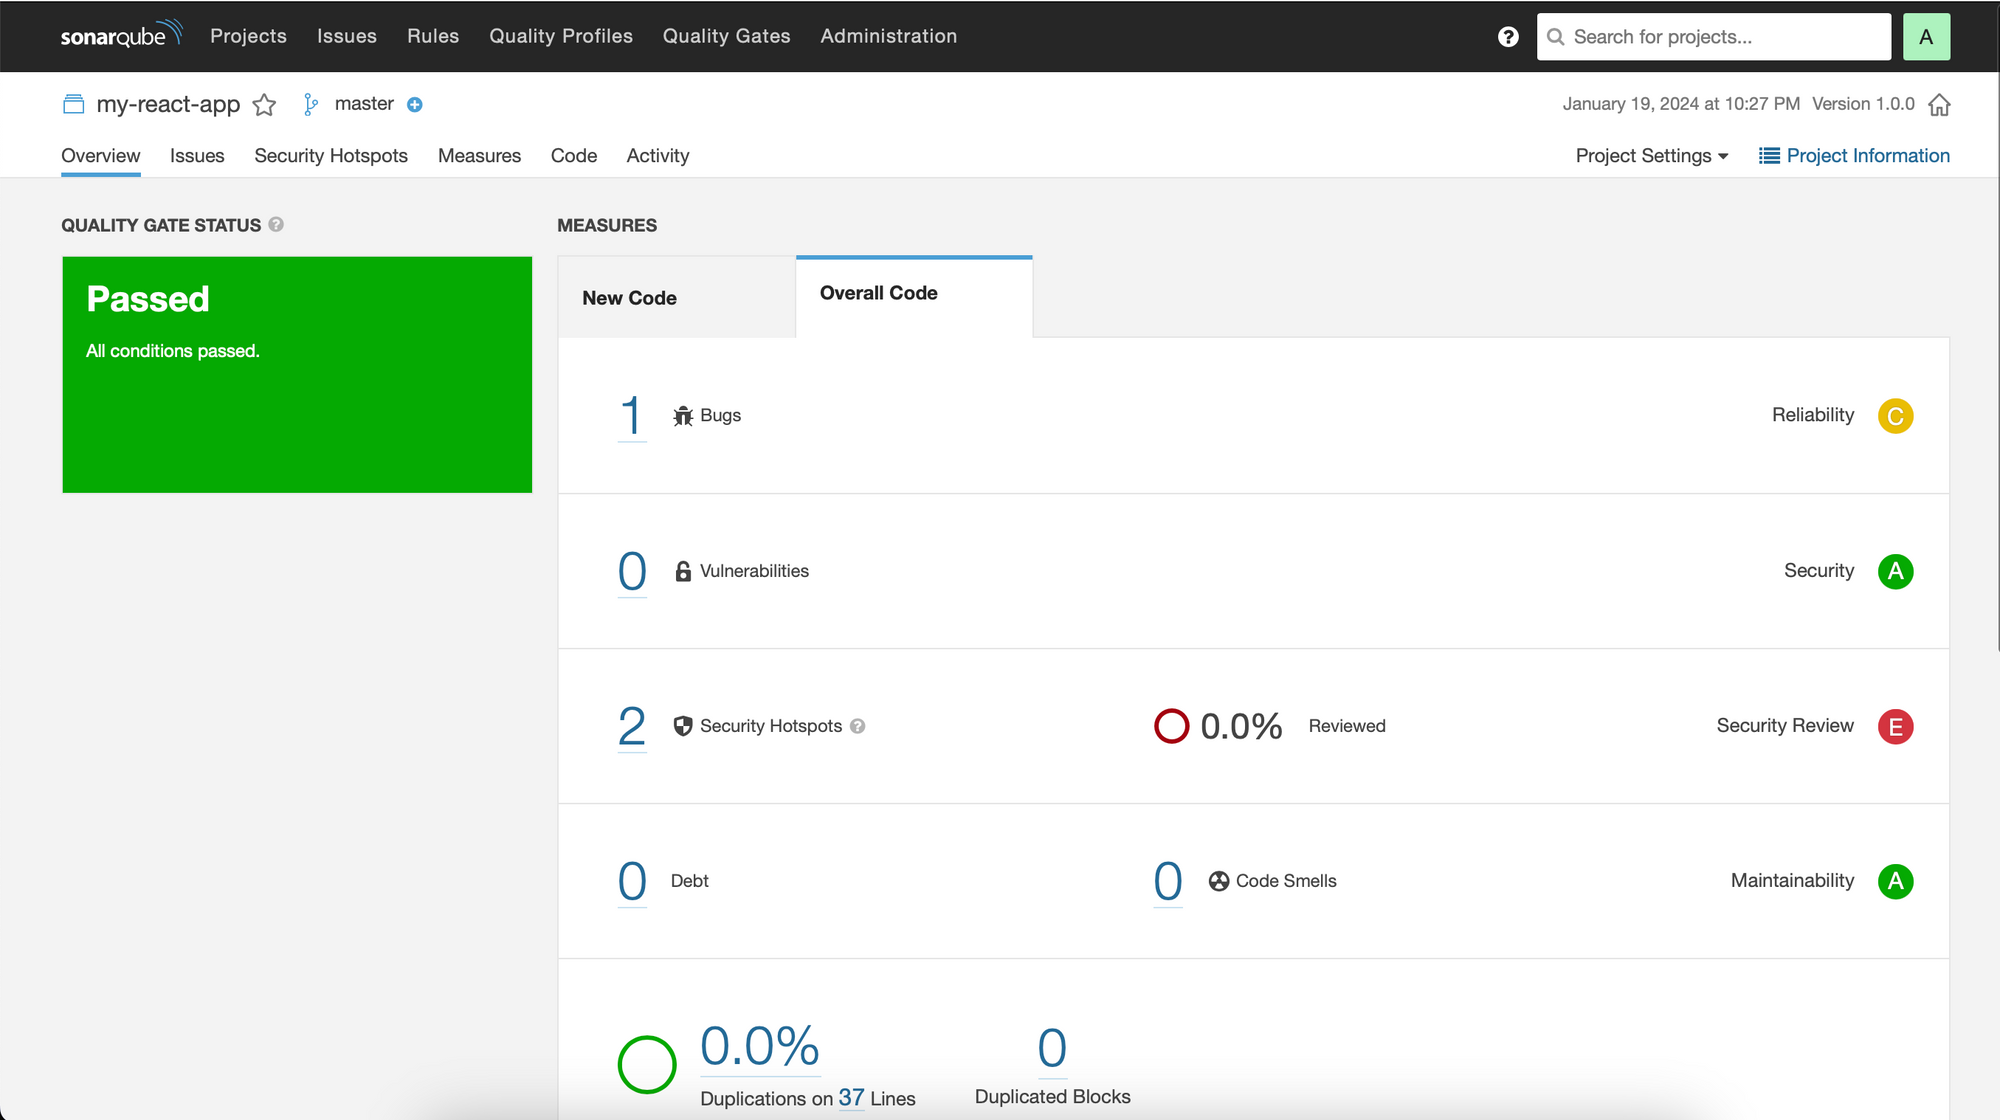
Now you can navigate the issues and other insights generated by the Sonar!
Don't forget that you can create custom rules for Sonar.
Any question? Let me know in the comments section!