React Native and Maestro - UI Tests easy


Maestro is a mobile UI testing framework, very simple and effective. It's an alternative to other frameworks like Appium, Espresso, UIAutomator or XCTest and is built on top of the knowledge from its predecessors.
Maestro doesn't depend on any mobile framework, so you can run it in React Native apps, Native Android or iOS, Flutter, Ionic, Native Script, etc.
It doesn't need a special app package too; you can use it even in a production/release build.
The best points of Maestro are:
- Simple setup.
- Declarative syntax.
- Fast iteration.
- Built-in tolerance delay and flakiness.
Installing
The Maestro documentation is complete and covers installing steps for the specific OS; Macos, Windows and Linux.
To install the Maestro CLI:
curl -Ls "https://get.maestro.mobile.dev" | bash
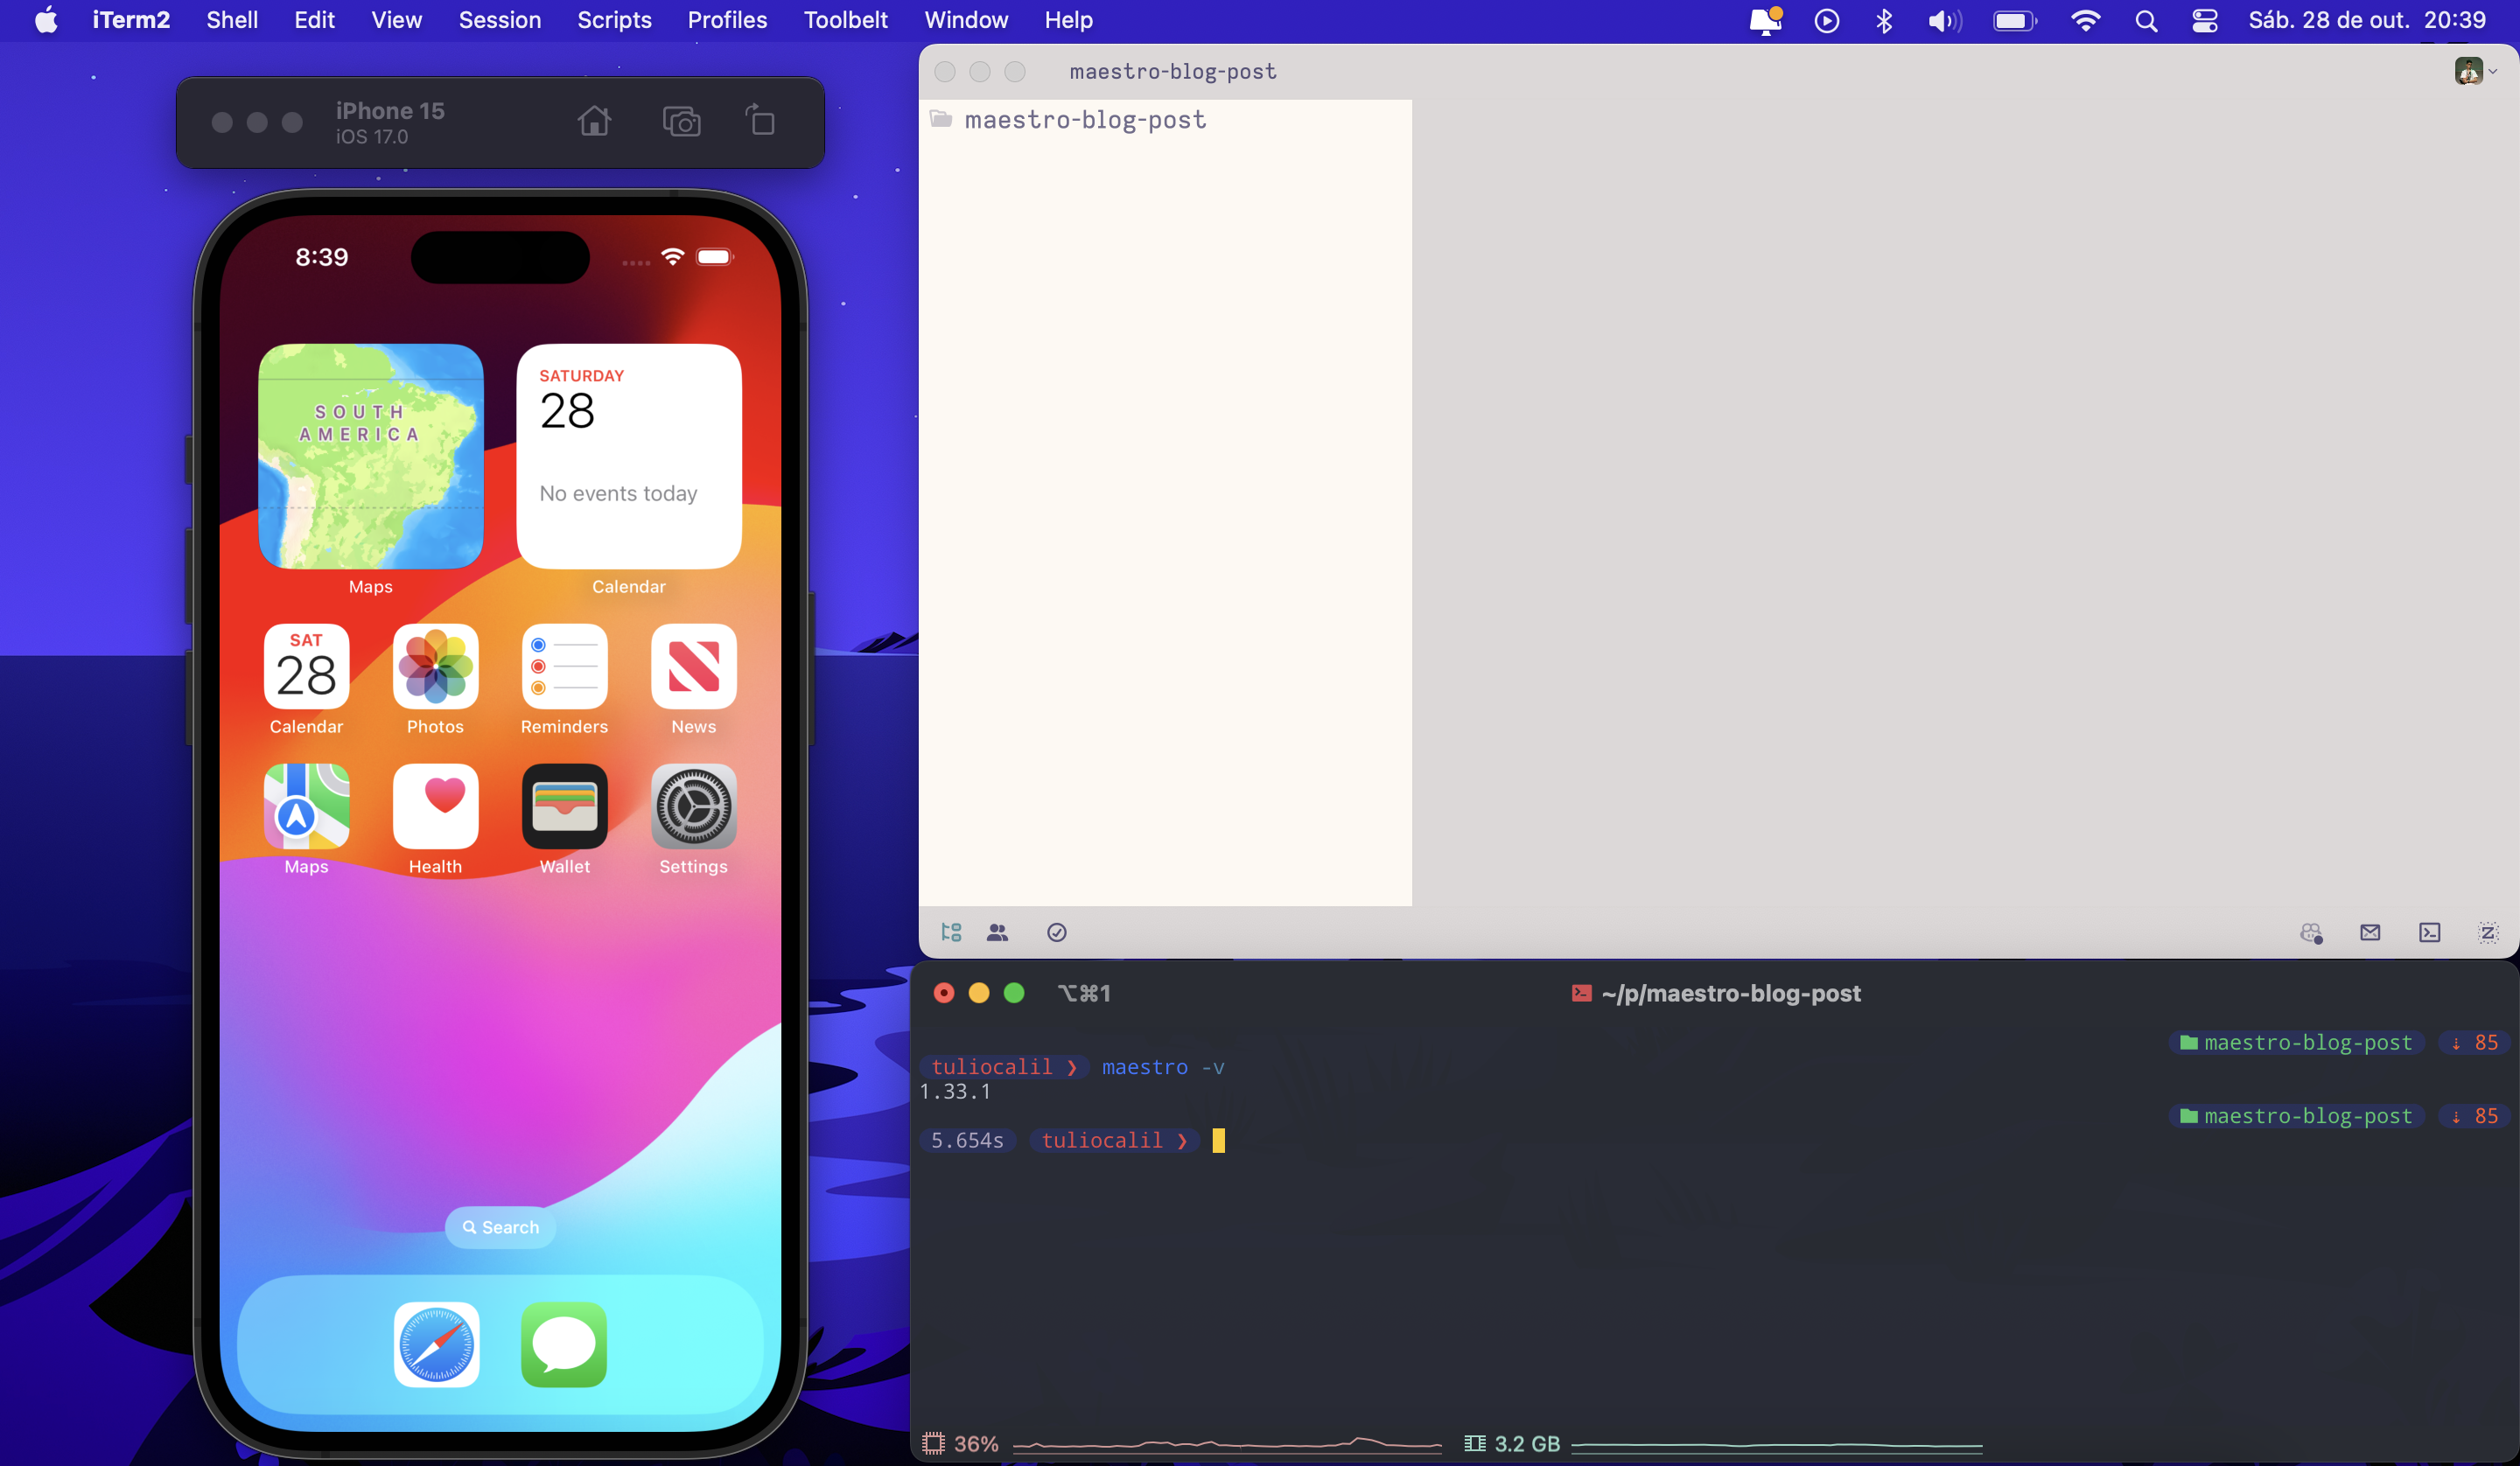
Don't forget to add the Maestro to PATH variable.Now we can check if the Maestro is successfully working:
maestro -v
Creating a sample Flow
Start your Android or iOS emulator/simulator, create a new folder for store our files, and open it in your favorite code editor:
For this sample, let's write a simple flow to open the "Maps" app and search for a city, click to change the view from 2D to 3D, and change the map type to Satellite.
Open the Maps before write/run this test, maybe you will be asked to give some permissions. I don't put this on the flow (but is possible) cause I want a clean example.
In your editor or terminal create a new file maps-flow.yml and let's start to write the instructions.
In the first line, we got:
appId: com.apple.Maps
ThisappIdis for iOS, if you are running android change it tocom.google.android.apps.maps
This is the first line for every flow that we write, it tells Maestro what application we want to manipulate.
The first lines in the Maestro flow file are the configuration part, in fact, the configuration part is all the lines above the --- marker(we will use this in the next part).
We can set the configuration in the flow file (like we see right now) or in a root config.yml file in the folder.
On the properties, we can for example run flow before the current in case we need any setup steps or somelike that.
You can check all the properties here.
So using the name and appId properties our config part looks like this:
appId: com.apple.Maps
name: Maps Test
---
Here we use the marker --- to tell the Maestro that above is the config and below is your workflow.
Now let's write the commands flow, before any command in the app we need to open the app, and for that, we use the launchApp command.
Commandis the name of actions(the properties in theYML) that we got in Maestro.
appId: com.apple.Maps
name: Maps Test
---
  - launchApp
Note that have a space on the line of the command launchApp, this is how YML files work, we need indent to nesting. If it is not clear, you can read about YML before starts.
The launchApp command accepts other params too, you can launch another app, clear the state, give or not permissions, and more.
All the commands got a really good doc.
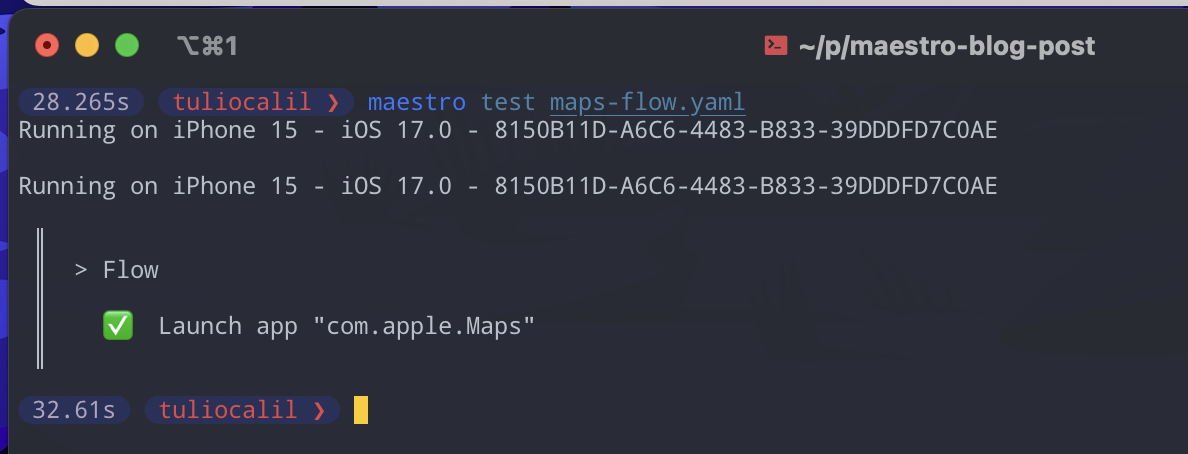
Now we can test the flow, in the terminal run:
maestro test maps-flow.yml
Sometimes it takes some time to install the maestro-drive in the device in the first run.
If all is right we will see the following output:
Let's put one more command:
appId: com.apple.Maps
name: Maps Test
---
  - launchApp
  - tapOn: "Search Maps"
🚩 For Android emulator change the tapOn to "Search here".The tapOn command tells the Maestro to tap/touch/click on a view/component/element that matches with the selector that we pass. By default we can pass a string as an argument, this means that Maestro will look for a view that has this EXACLTY text. It's very useful when you don't know or the application doesn't use things like test-id.
But like always we can pass any other option, in this case, other selectors.
In Maestro we got a lot of selectors, text, id, point (relative position in the screen), and more. All selectors are documented here.
Right now the text selector is the best option for us.
We tap on the search field, and putting some text is the next step, right?
appId: com.apple.Maps
name: Maps Test
---
  - launchApp
  - tapOn: "Search Maps"
  - inputText: "Salvador, Bahia, Brazil"
Now we type some text in the field, the inputText command has some random generators too, you can see it on the docs.
Now that we have typed the text let's confirm the search and seed the result:
appId: com.apple.Maps # android = com.google.android.apps.maps
name: Maps Test
---
  - launchApp
  - tapOn: "Search Maps" # android = Search here
  - inputText: "Salvador, Bahia, Brazil"
  - pressKey: Enter
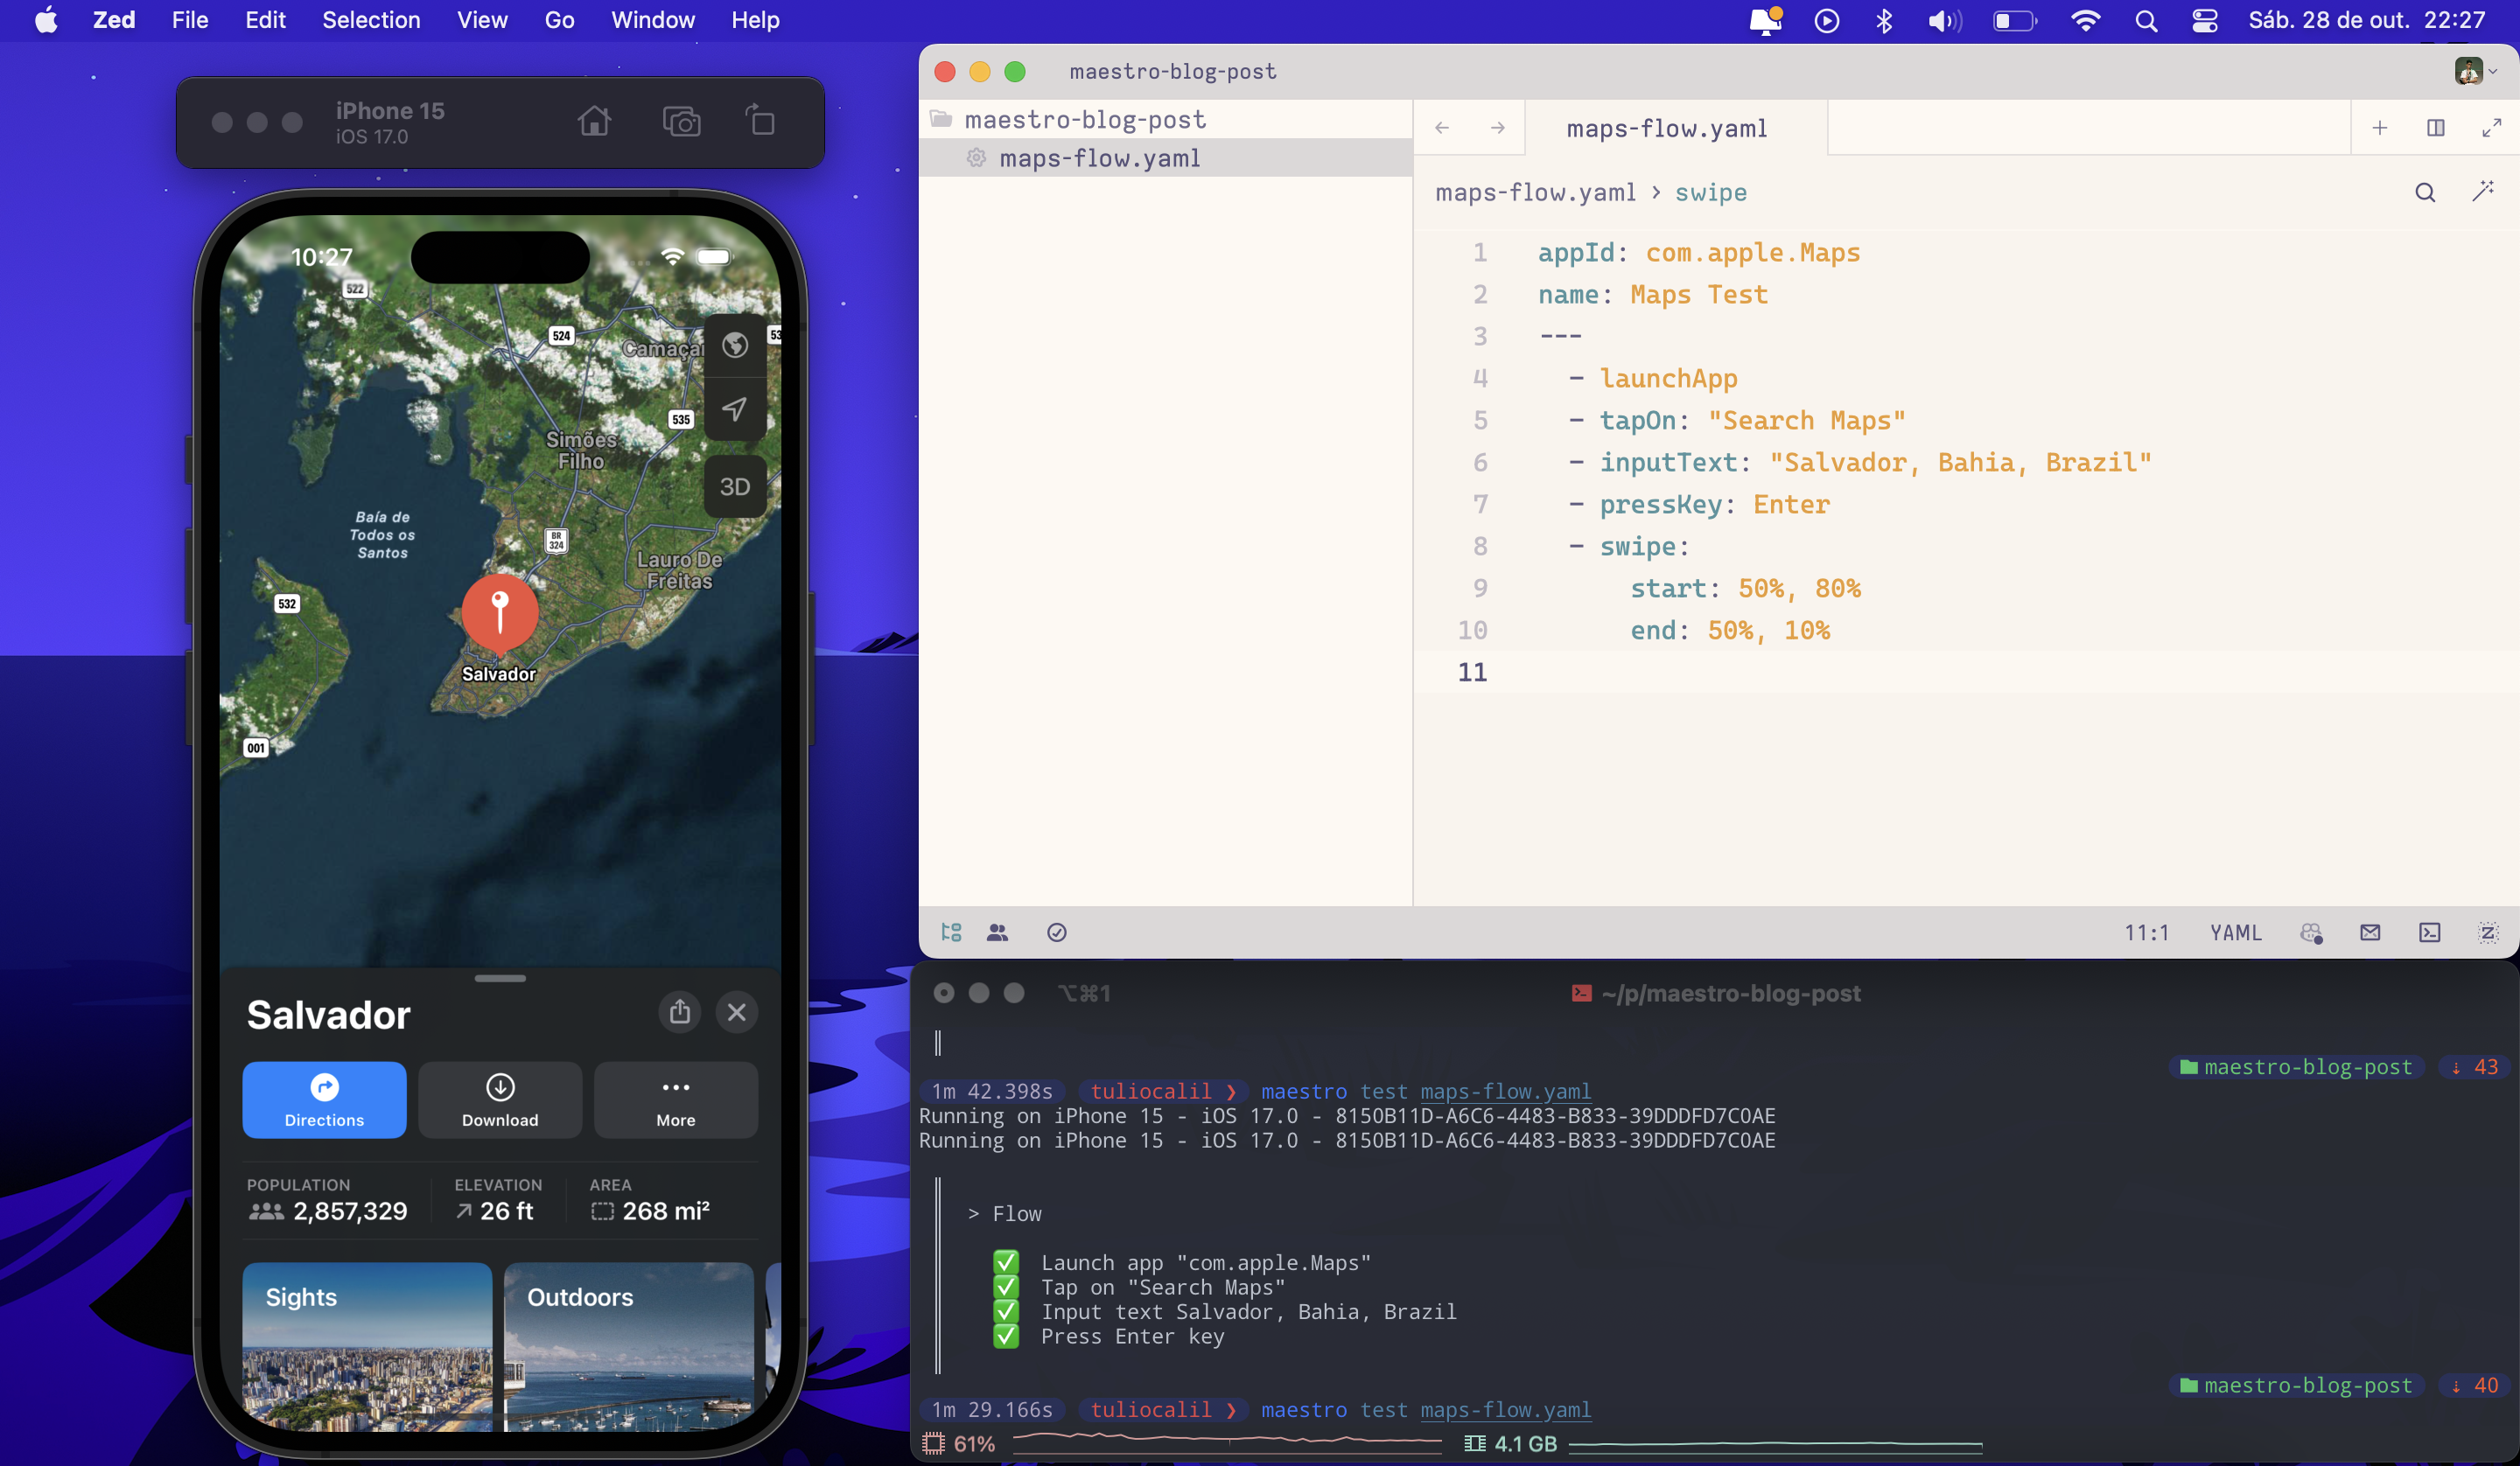
If we want we can swipe the info modal, just add and test:
  - swipe:
      start: 50%, 80%
      end: 50%, 10%
Using parameters
We are changing some values between OS, for iOS we using the appId "com.apple.Maps" and for Android "com.google.android.apps.maps". In this case, we can turn this flow generic for each OS using parameters.
With parameters is possible to change the fixed values in the file for variables that will be read from the CLI arguments or from environment variables. Just a refactor in our file:
appId: ${APP}
name: Maps Test
---
  - launchApp
  - tapOn: ${FIELD}
  - inputText: "Salvador, Bahia, Brazil"
  - pressKey: Enter
  - swipe:
      start: 50%, 80%
      end: 50%, 10%
Now appId is the value of APP and tapOn is FIELD, to set this value just run the Maestro CLI this way:
For Android test:
maestro test -e APP=com.google.android.apps.maps -e FIELD="Search here" maps-flow.yaml
For iOS test:
maestro test -e APP=com.apple.Maps -e FIELD="Search Maps" maps-flow.yaml
We can use parameters for multiple things, if you have a secret (like a password) and don't want to store this in the YML file or if this value is dynamic and you need to get a new one every running for example.
Recording and report
You may need to get some evidence that all tests are passing, maybe a video or a report or both. Maestro has a built-in solution for the two cases.
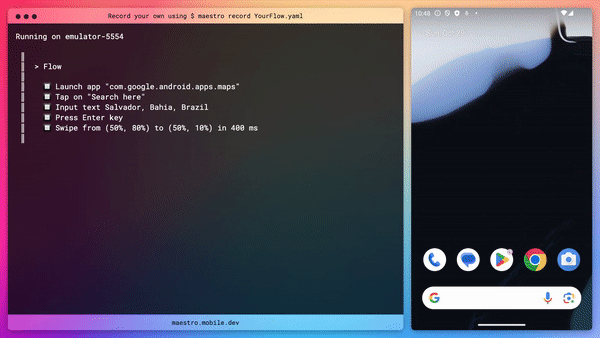
Recording
Maestro records the mobile screen and creates a virtual window to show the test state and formats it to mp4, actually the rendering is done in the server and when the render is done you get a temporary URL to download the video.
To record the video is ultra simple, just change test to record in the CLI:
maestro record -e APP=com.google.android.apps.maps -e FIELD="Search here" maps-flow.yaml
The output:
Report
Maestro can generate reports for test suites, in this case, we just got one test but we can generate the report too.
Like the record, the report is very simple too, just add a new argument in the CLI:
maestro test --format junit -e APP=com.google.android.apps.maps -e FIELD="Search Here" maps-flow.yaml
The --format junit will generate an xml file in the root with the status of the tests, actually the only supported format is Junit. You can change the output path using the --output argument.
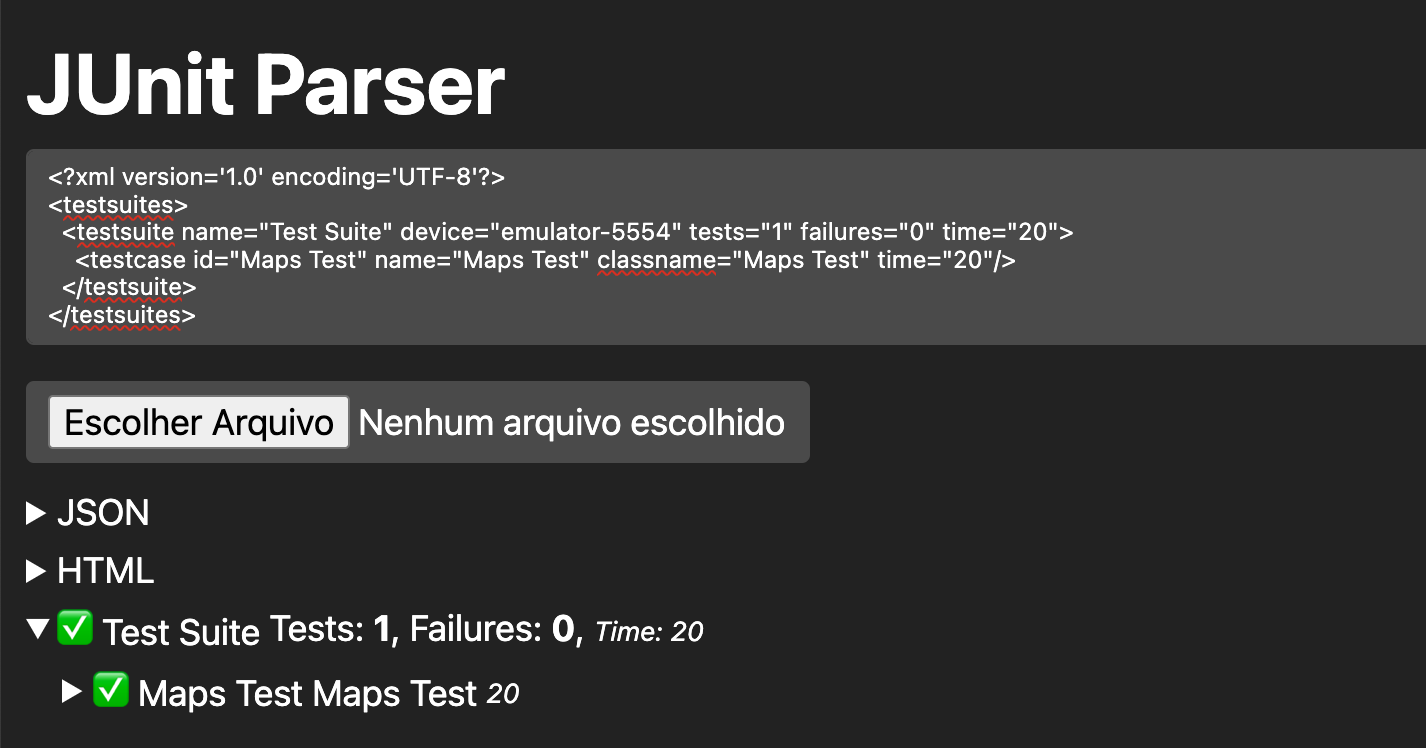
Copy and paste the xml content hereConclusion
Maestro is an awesome framework and we use it a lot at my current company, GOK.
This is just the first post of a series about Maestro, I will bring real-world examples and advanced concepts in the next posts.