Migrating Native Android App to React Native in 2024
Upgrade your Android app to React Native in 2024 efficiently. This brief guide covers crucial steps and insights for a seamless transition, boosting cross-platform support and streamlining app maintenance. Ideal for developers seeking swift, scalable development solutions.

In my career, I've had to do various refactors and recreate applications, including Mobile, Frontend, and Backend, and I realized that I've never documented this in a post. Recently, I was part of a project where we needed to migrate two native applications (Android in Kotlin and iOS in Swift) to React Native. In addition to migrating all the current features, the idea was to address all the technical debts from the previous versions (conscious debts that were not prioritized) and add new functionalities with a new interface.
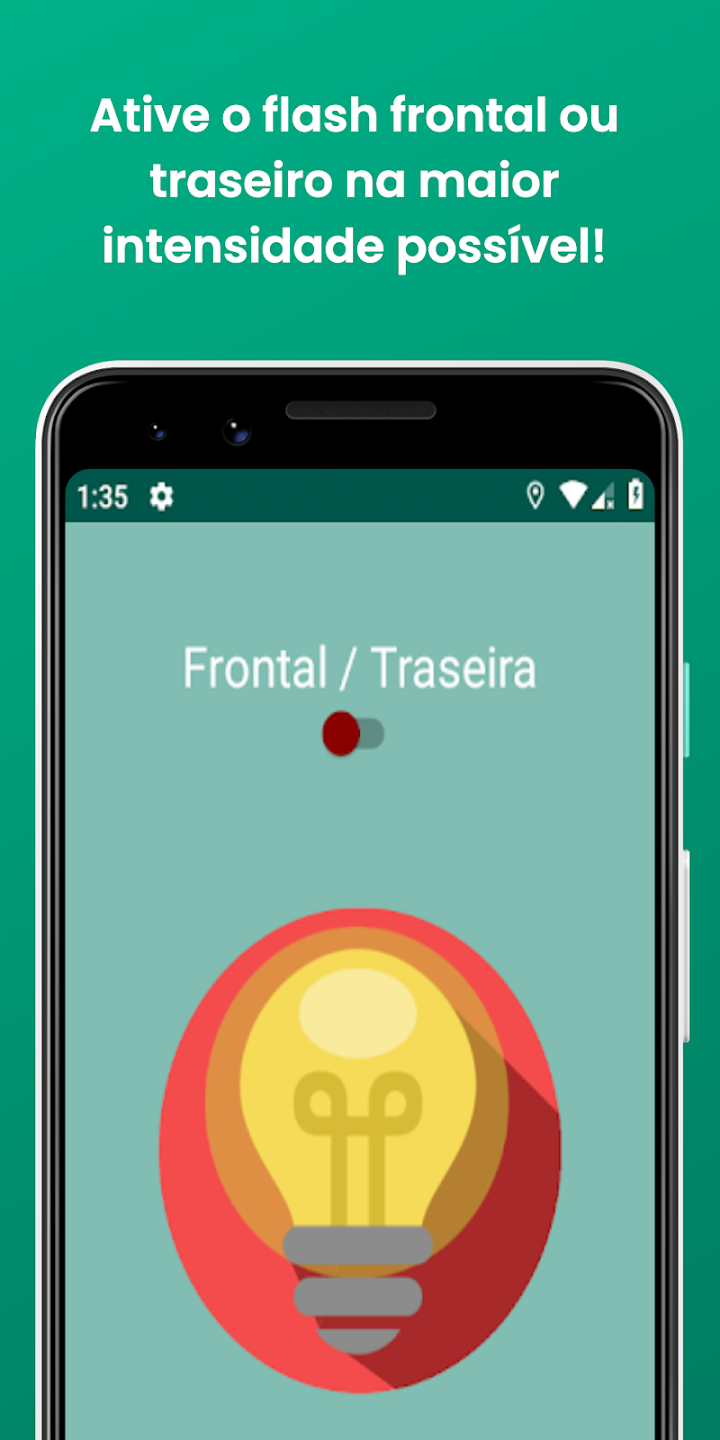
I'll take this opportunity to talk about this process, but as an example, I'll use a very simple app that I developed a long time ago, the app in question is the "Front Flashlight Lite" (yes, a flashlight app).
Google sent several alerts about SDK version updates and other policies, and the application even went offline because the terms of use were no longer online.
Overview
The application operates in an extremely simple manner, we can:
- Turn the device's rear flashlight on and off (if available)
- Turn the device's front flashlight on and off (if available)
However, all this is done using the device's native camera API, which means I will need to create a native module for this in React Native.
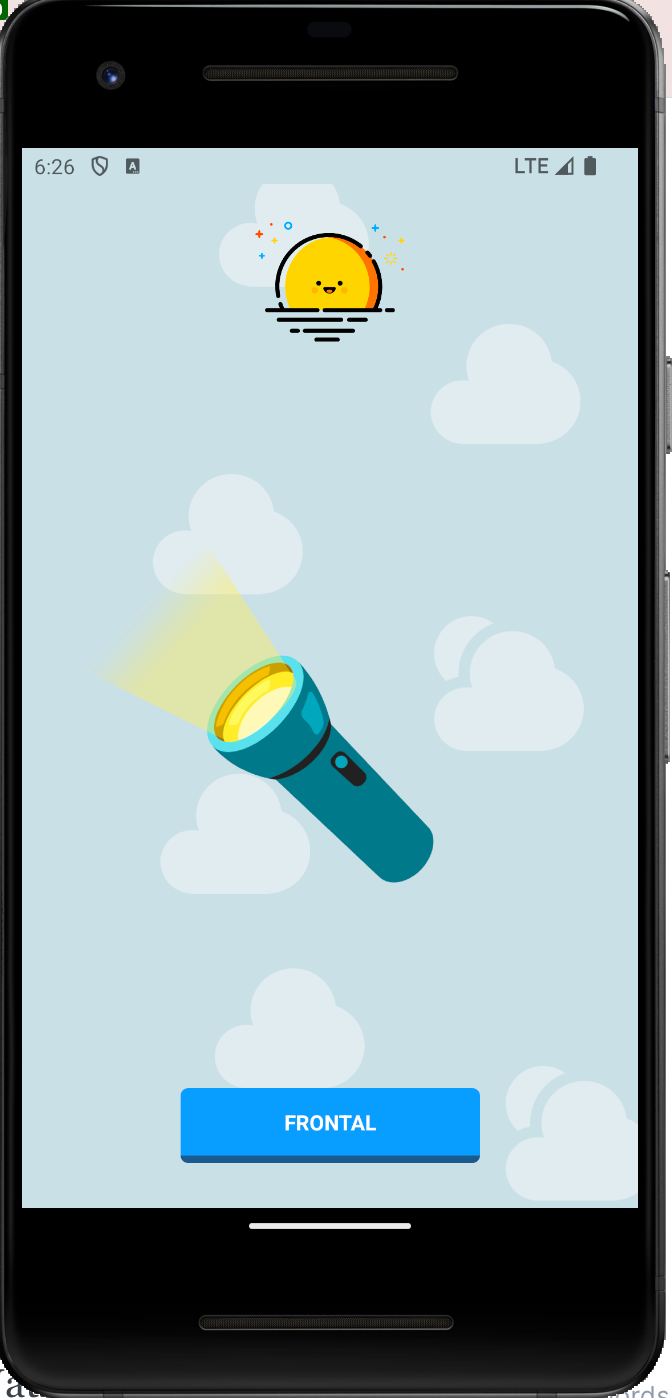
The idea is not only to migrate to React Native but also to create a new interface and new icons to make everything more modern and attractive.
For this migration, we will focus only on Android, and in my planning, I will need to structure in React Native:
- React Native CLI to start a new project.
- Configure the Bundle (package name) and use the same Keystore to replace the current app without having to create a new one.
- Navigation with React Navigation.
- Styling with Stylesheet (you don't have to use Styled components for everything)
- React Native Animated (perhaps ReAnimated might deliver better performance)
- Create a native module to access the camera API and turn on the flash.
- Firebase library and Admob for analytics and advertisements
Starting
Let's start with the React Navigation part. Here, there's nothing out of the ordinary; we just need to add the libraries to the project and follow the documentation to ensure everything is correct.
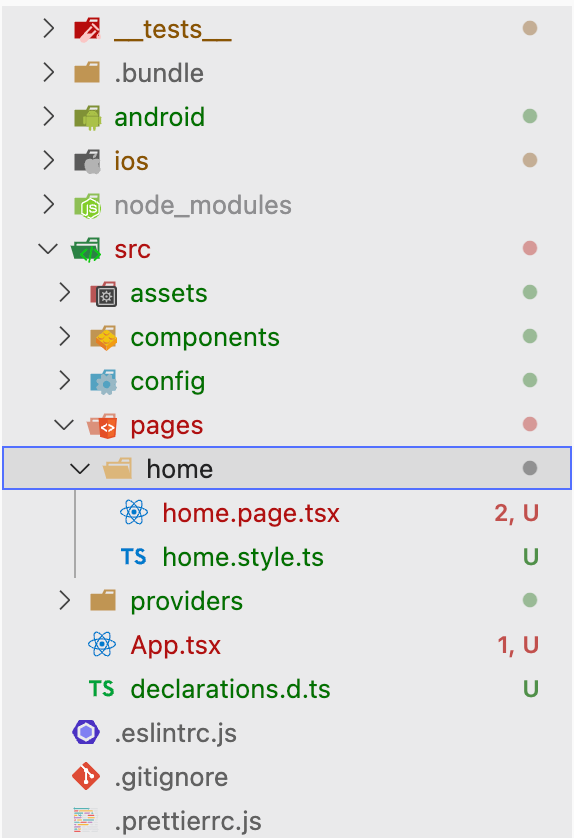
yarn add @react-navigation/native react-native-screens react-native-safe-area-context @react-navigation/native-stackAfter setting up the route (we have just one), we can now create our folder structure and then start on the UI.
After stylizing the home screen, we get this:
Native module
Now we need to write the native code, let's create a bridge between React Native and Android. I am writing about this right now and will post as soon as possible.
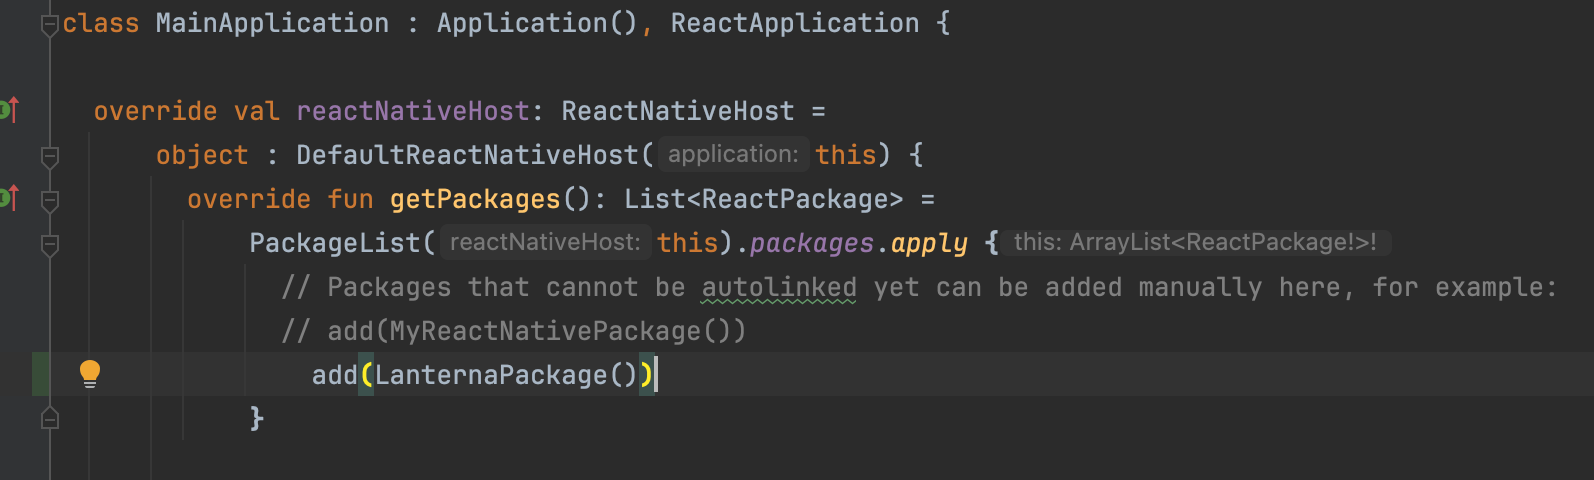
So, I created the Module and Package classes to control the camera API:
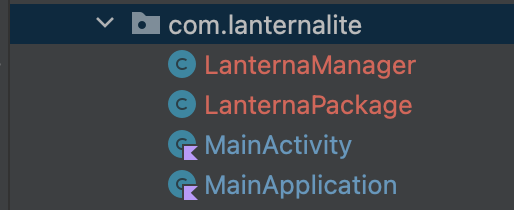
Register the Package in "MainApplication":
In React Native I created a util to communicate between RN and the Android code:
import { NativeModules } from 'react-native';

export async function turnFlashlight(
  on: boolean,
  camera: 1 | 0,
): Promise<boolean> {
  const { LanternaManager } = NativeModules;

  try {
    return await new Promise((resolve, reject) => {
      LanternaManager.turn(on, camera, (status: boolean) => {
        if (status) {
          resolve(true);
        } else {
          reject(false);
        }
      });
    });
  } catch (e) {
    return false;
  }
}
In the native code, the function has three arguments:
status: Turn on (true) or turn off(false) the light.camera: Which flash will be used; frontal (1) or backside (0).callback: Callback to capture the response passed in native code (trueorfalse).
Bundle and sign the application
The most important part of the migration an application is here, all the text above is to illustrate a "real migration case", but when you change your app, because you have to switch the framework, or create a new project from zero and need to replace the old application you need to be careful with two things:
- Application Id (or Bundle Id)
- Keystore
This is how the Play Store knows that this application is the same and not a new one (it's a simplified explanation), so, we create a new application and want to replace the old one, let's set up these two points, starting from the application ID changing.
We don't need to change the package name, we need to change the build.gradle and don't need to refactor all the Android application references, folders, etc. It's very simple.
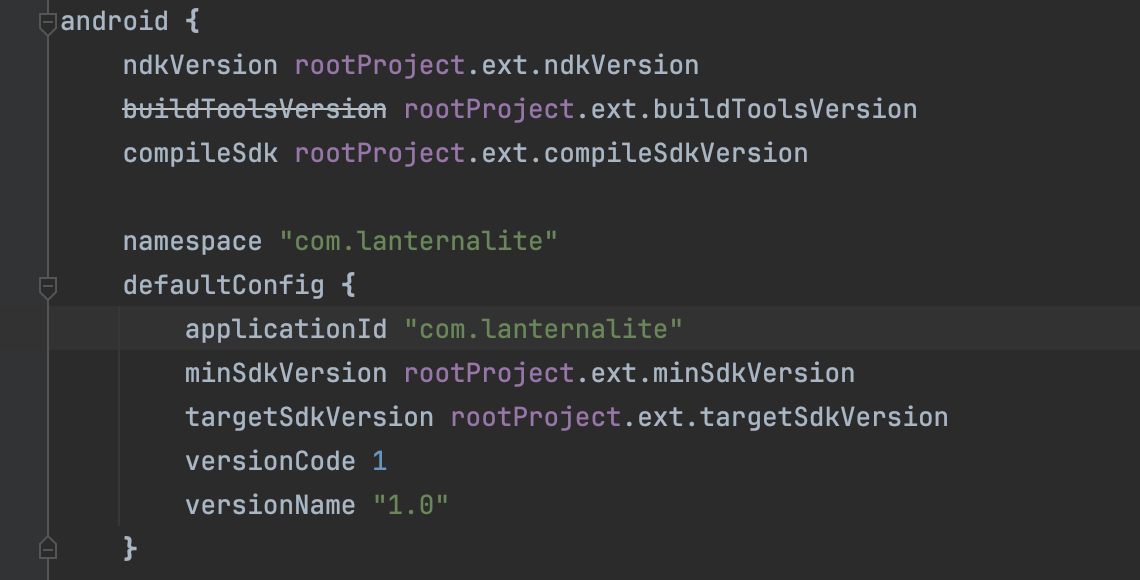
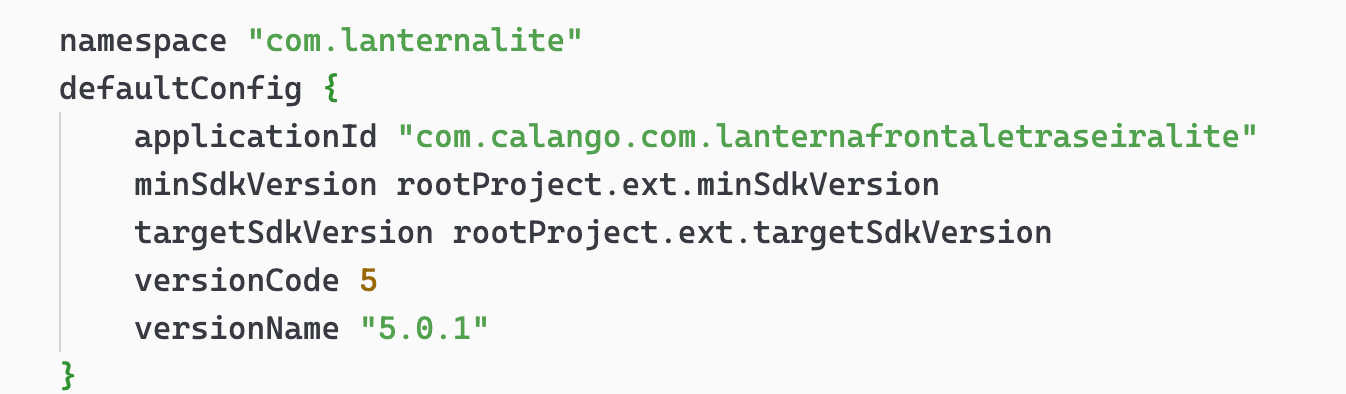
Application ID
Opening the build.gradle from app folder (android/app/build.gradle) we can look for the defaultConfig section. Here we can see the actual application ID.
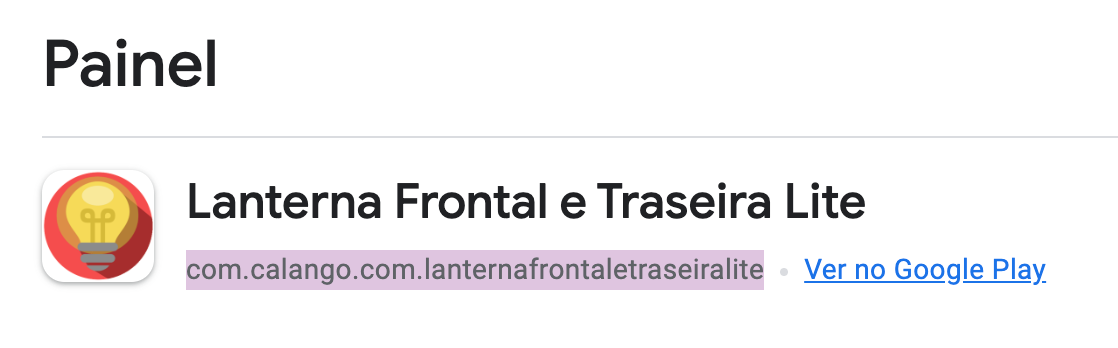
You can check the actual application ID in the Play Console (or in the old codebase):
Don't forget to change the version number too, put the current + 1 (or some like that):
KeyStore
Now let's create a new signing config to register or old KeyStore, if you lost this, you can check some solutions to recovery. The React Native documentation covers all these steps very well.
In the same file, scroll to signingConfigs section and create a new entry:
...
android {
    ...
    defaultConfig { ... }
    signingConfigs {
        release {
            if (project.hasProperty('MYAPP_UPLOAD_STORE_FILE')) {
                storeFile file(MYAPP_UPLOAD_STORE_FILE)
                storePassword MYAPP_UPLOAD_STORE_PASSWORD
                keyAlias MYAPP_UPLOAD_KEY_ALIAS
                keyPassword MYAPP_UPLOAD_KEY_PASSWORD
            }
        }
    }
}
...
Now in the buildTypes section, look for release and change the signingConfig to signingConfigs.release to use the newly created configs.

Edit the gradle.properties in android folder to add the new variables and change the values. Put the same password and alias from the old app and put the .keystore file inside android/app folder.
If your keystore is in jks format it's not a problem, just put the name with extension in the var.MYAPP_UPLOAD_STORE_FILE=name-of-key-key.keystore
MYAPP_UPLOAD_KEY_ALIAS=my-key-alias
MYAPP_UPLOAD_STORE_PASSWORD=*****
MYAPP_UPLOAD_KEY_PASSWORD=*****Now build and check:
cd android
./gradlew bundleRelease # Generate .aab
If everything is ok the Google Play Console will accept your new bundle and you are ready to go!
Bonus
Don't forget that if you are writing a new application is a good time to implement things to help you keep the good health of the code. Check these posts to see if this can help you:


 Tulio Calil