PS2 SMB with a Raspberry Pi 4 in 2024
How to configure Raspberry Pi 4 to create a SAMBA server and access the games on your PlayStation 2!

As a software engineer by profession, my world revolves around coding and creating innovative digital solutions. However, when I'm not immersed in the complexities of software development, I find myself diving into another passion of mine: gaming. My love for video games is not just limited to the latest releases; in fact, I have a profound appreciation for vintage gaming consoles. My collection boasts treasures like the Super Nintendo Entertainment System (SNES), Nintendo 64, Game Boy, and several others. Each console is a gateway to nostalgia and a testament to the evolution of gaming. In this article, I'm excited to share how I blend my technical skills with my gaming hobby, particularly through my recent project involving the PlayStation 2 (PS2) and a Raspberry Pi 4 in the year 2024 to create a Samba server to read the games over the network.
We will need:
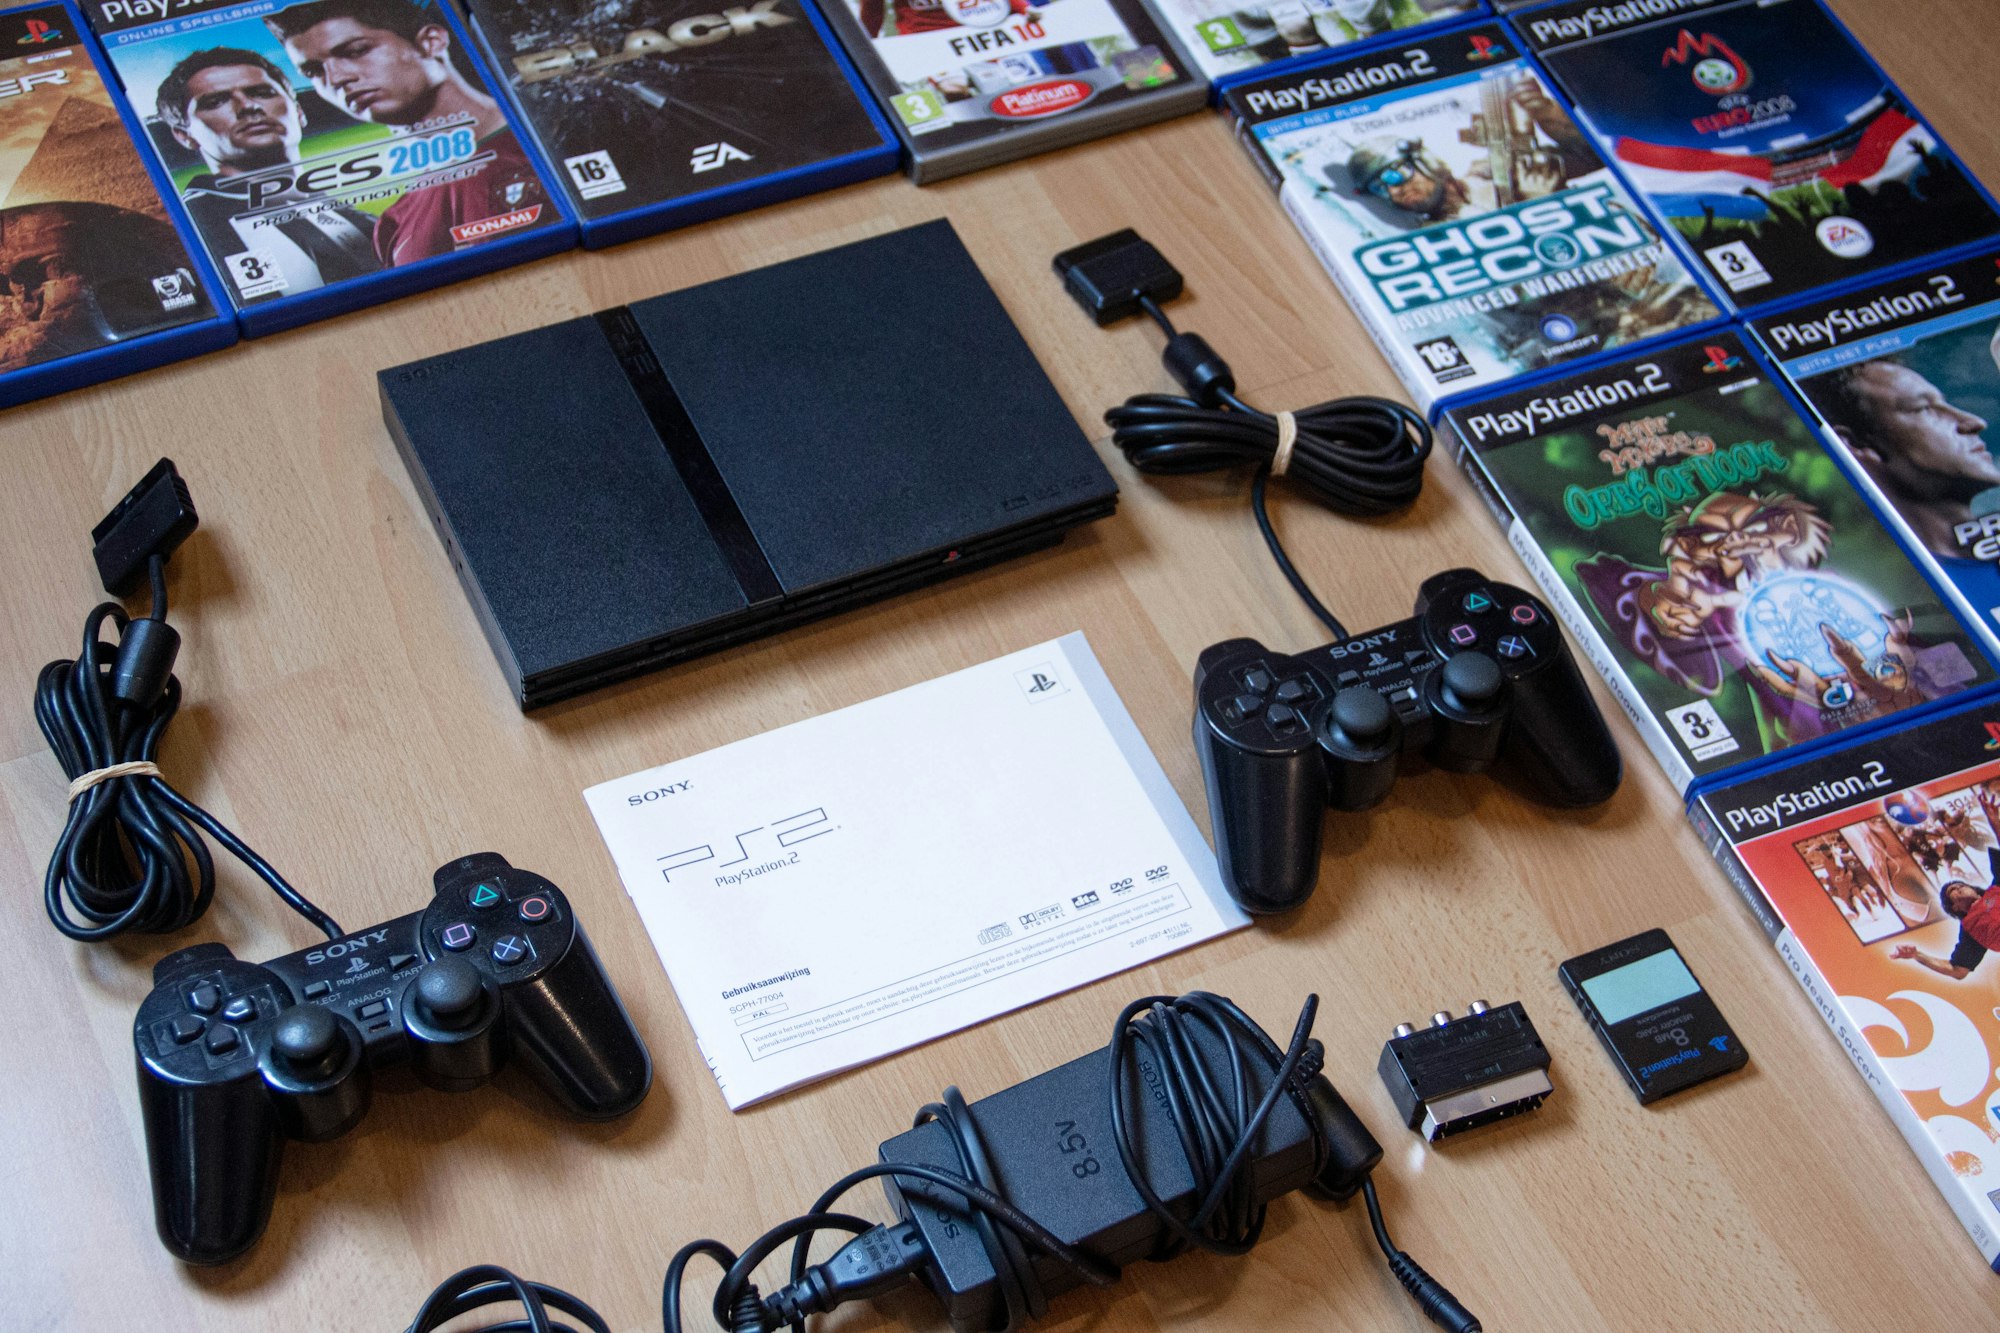
- PlayStation 2 with OPL
- Raspberry Pi (I used 4)
- Ethernet cable (don't need to be crossover)
- HDD (optional just to put all the games)
Setup Raspberry Pi 4
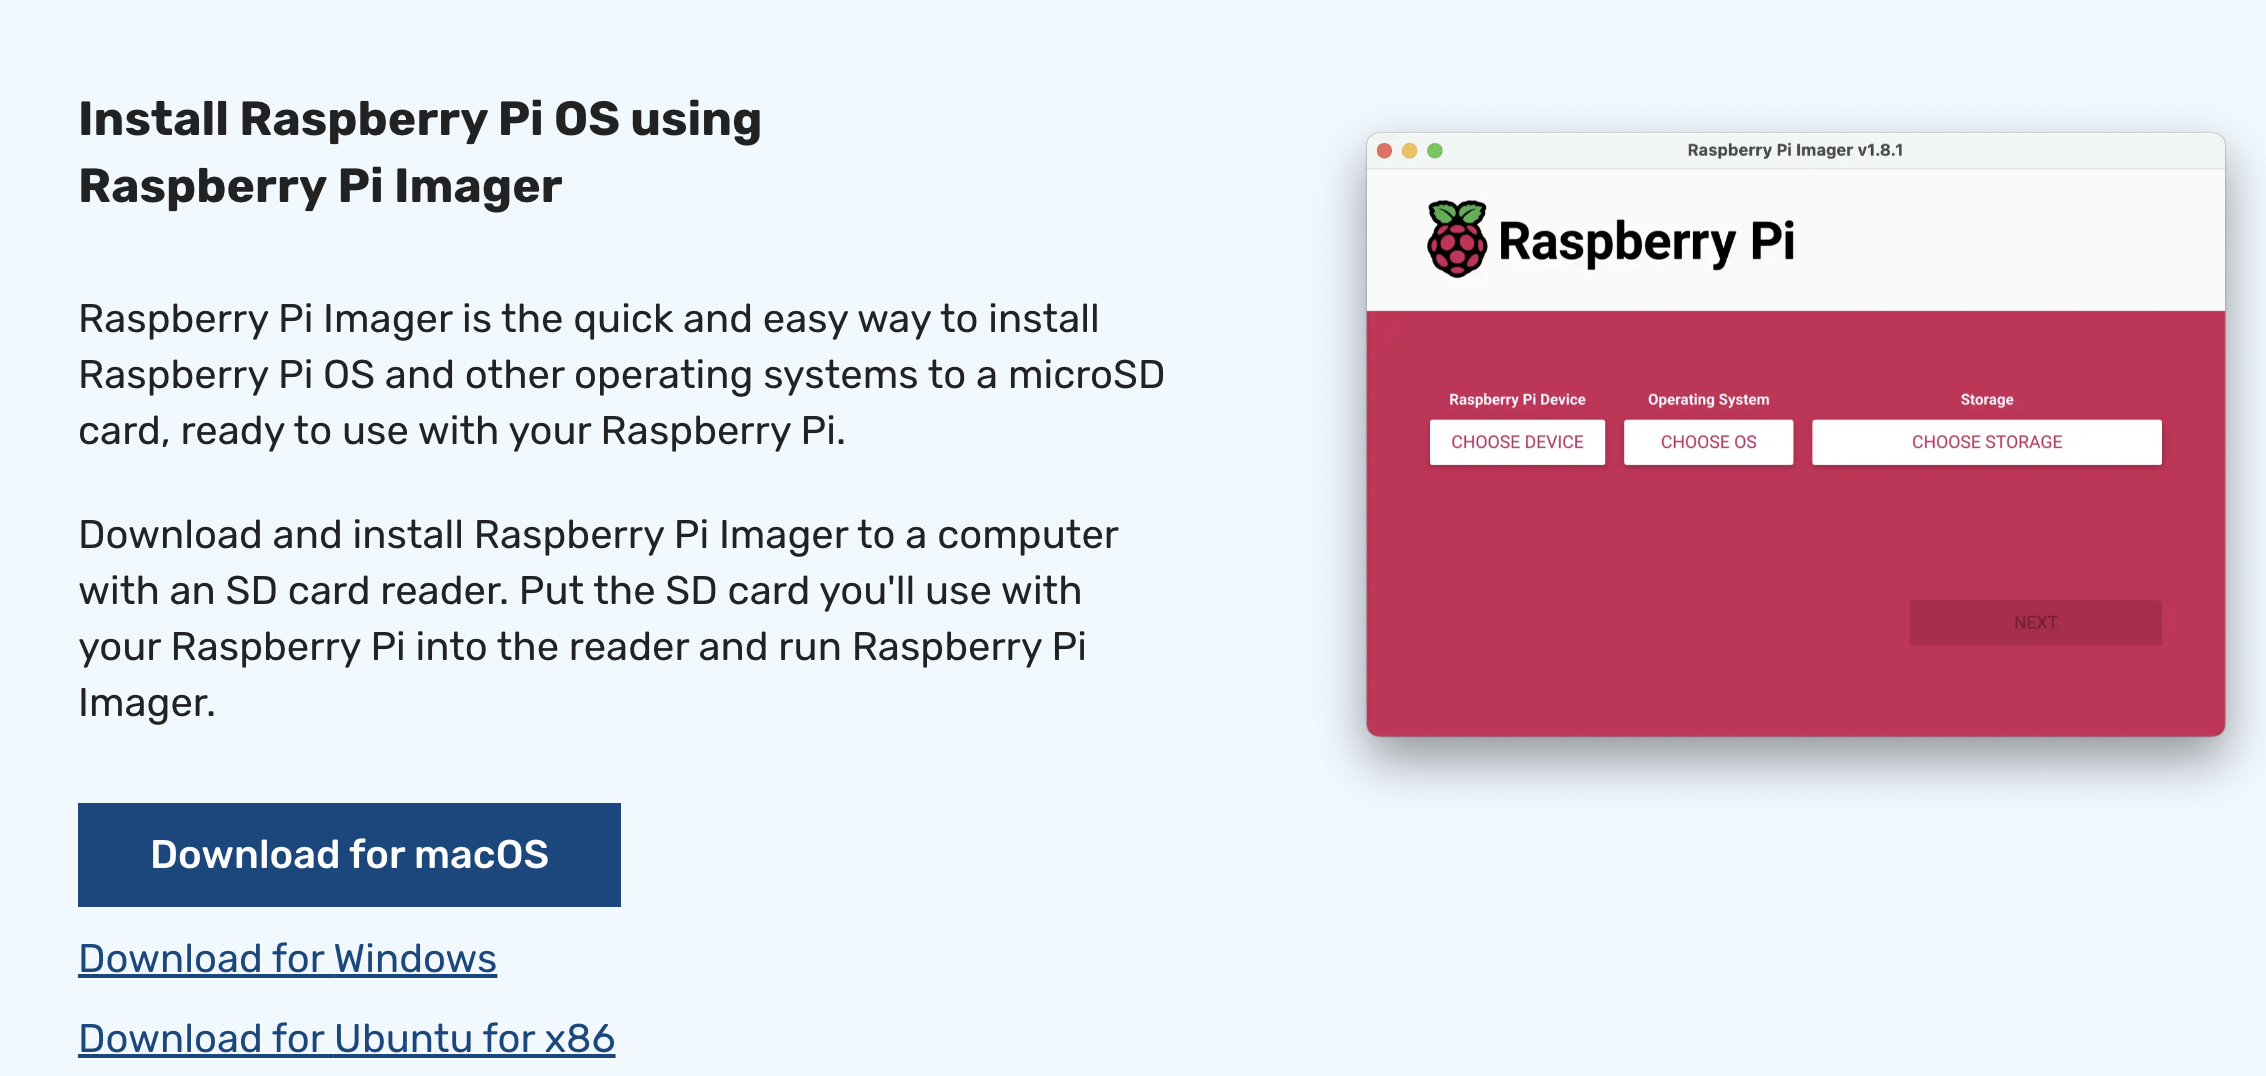
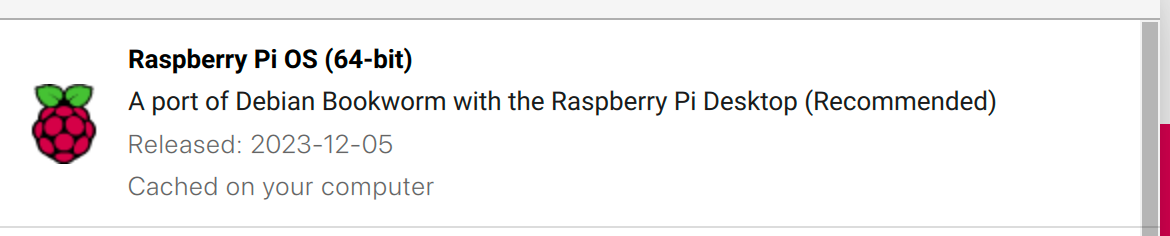
First of all, we need to format the SDCARD to use in our Raspberry, I recommend the Pi Imager to create the image. It's straightforward; choose the device, the operating system (I used and recommend the Raspberry Pi OS) and choose the storage (SDCARD).
Now we can put the SDCARD in the Rasp and boot the system, finish all the initial setup.
Samba server
Now we need to create our shared folder to access via OPL. Samba is an open-source software suite that provides seamless file and printer-sharing capabilities between Windows, Linux, and macOS systems within a network. It enables these diverse systems to communicate with each other by implementing the SMB/CIFS protocol.
Let's install the Samba, open the LXTerminal, and type:
sudo apt install samba -yAfter finishing, we need to create or mount our shared folder where we will put all the games, we can use a USB device (HDD, pen drive, etc) or just use the SDCARD space. For this example, I will use an HDD with a USB adapter, just plug it and the OS will mount automatically.
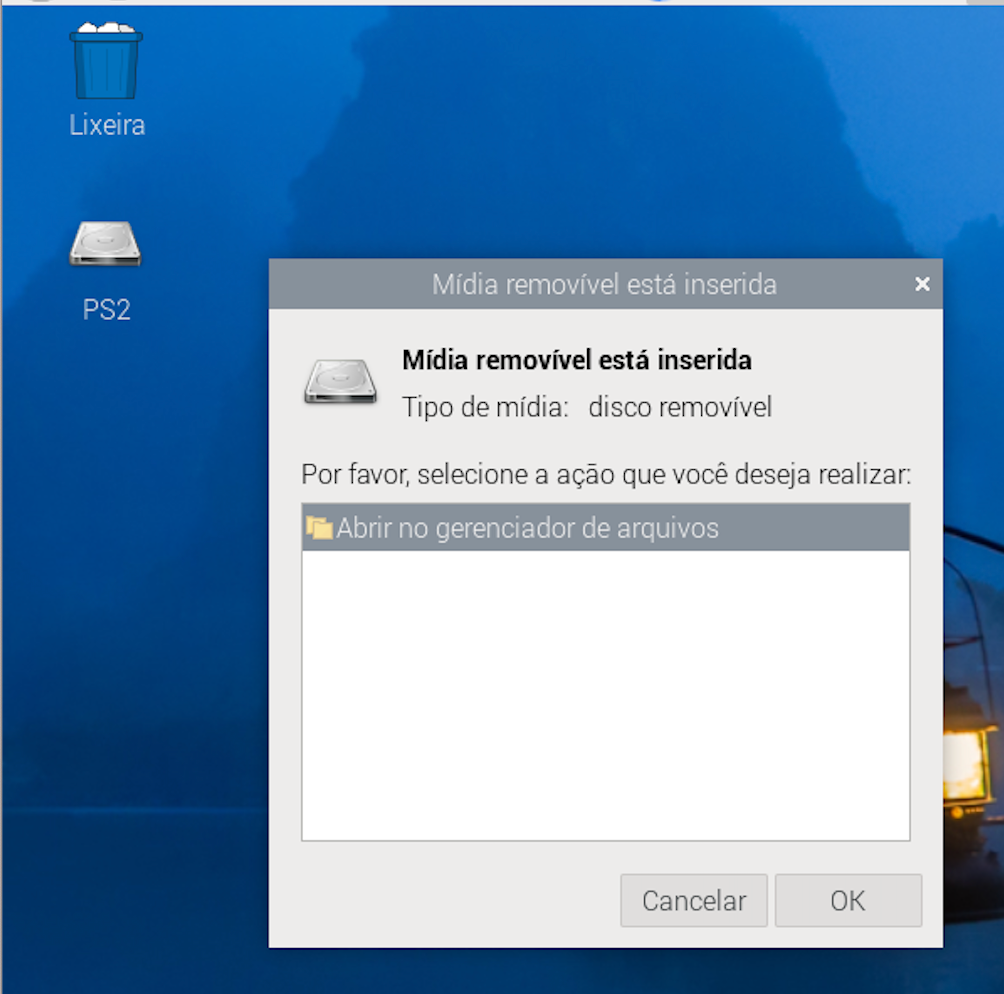
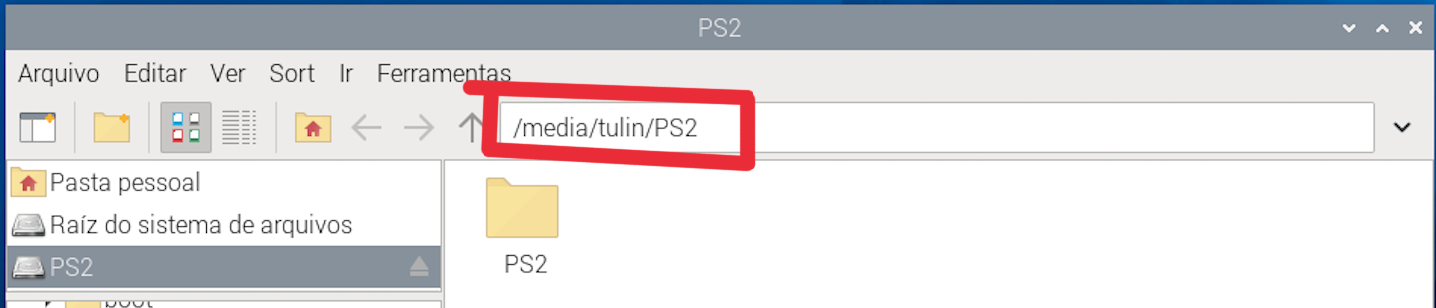
Now we need to get the path to the OPL folder in our device, just open the device that you plugged in and copy the path.
If you will not use an external device, just create a folder and put the games ISO in the DVD folder.
Now let's configure the sharing file, you can install a code editor in your OS or just use nano to edit files in the terminal.
We need to open the smb.conf and edit some things, but is easier to create a new one, so let's move the original file and download a new one:
sudo mv /etc/samba/smb.conf /etc/samba/smb.conf-bkpNow we will download the new file, I hosted in the GitHub gist, it's a modification of an original file with a small modification (ntlm line):
sudo wget https://shorturl.at/dvQST -O /etc/samba/smb.conf